Legal Consents
Legal Consents is an admin-level feature in Tutor LMS that allows site owners and administrators to create custom consent notices and display them to users at specific points, such as during registration, login, checkout, or when someone applies to become an instructor. This is useful for communicating terms of service, privacy policies, or any other legal agreements your platform requires users to acknowledge.
Where to Find This Setting
Legal Consents is located in the WordPress admin area under Tutor LMS Pro > Settings > Legal Consents.
The Legal Consents Page
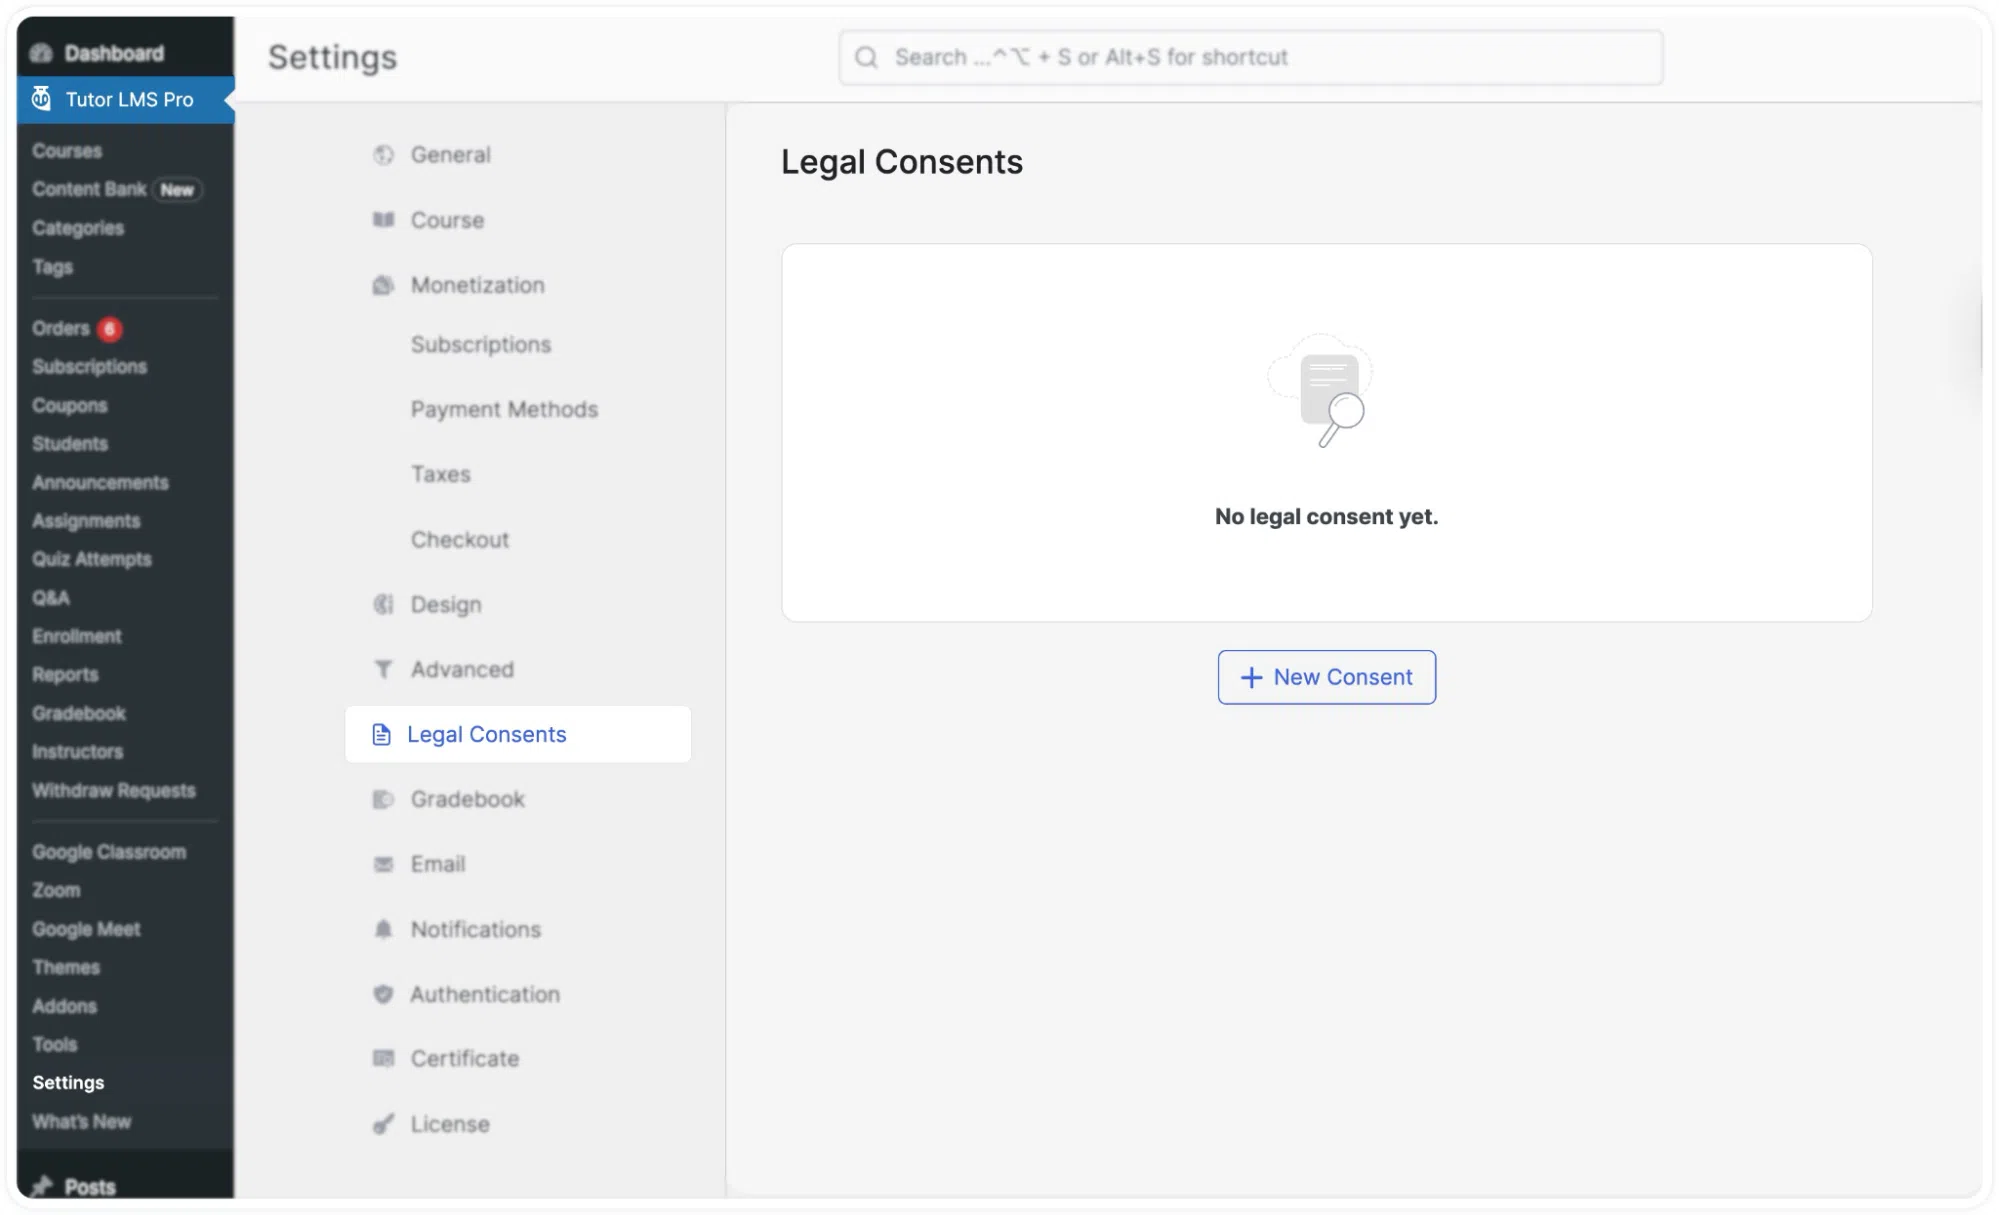
When you first visit the Legal Consents page, it shows an empty state with the message “No legal consent yet.” and a + New Consent button. Once consents have been added, they appear as a list of collapsible cards, each showing the consent title and two controls: a toggle to enable or disable the consent, and a settings icon to expand and edit the consent’s details.
Multiple consents can be created and managed from this page. Each consent is independent; it can have its own message, its own display locations, and its own method of collection.
Creating a New Consent
Click + New Consent to add a new consent form. A new card expands with the following fields:
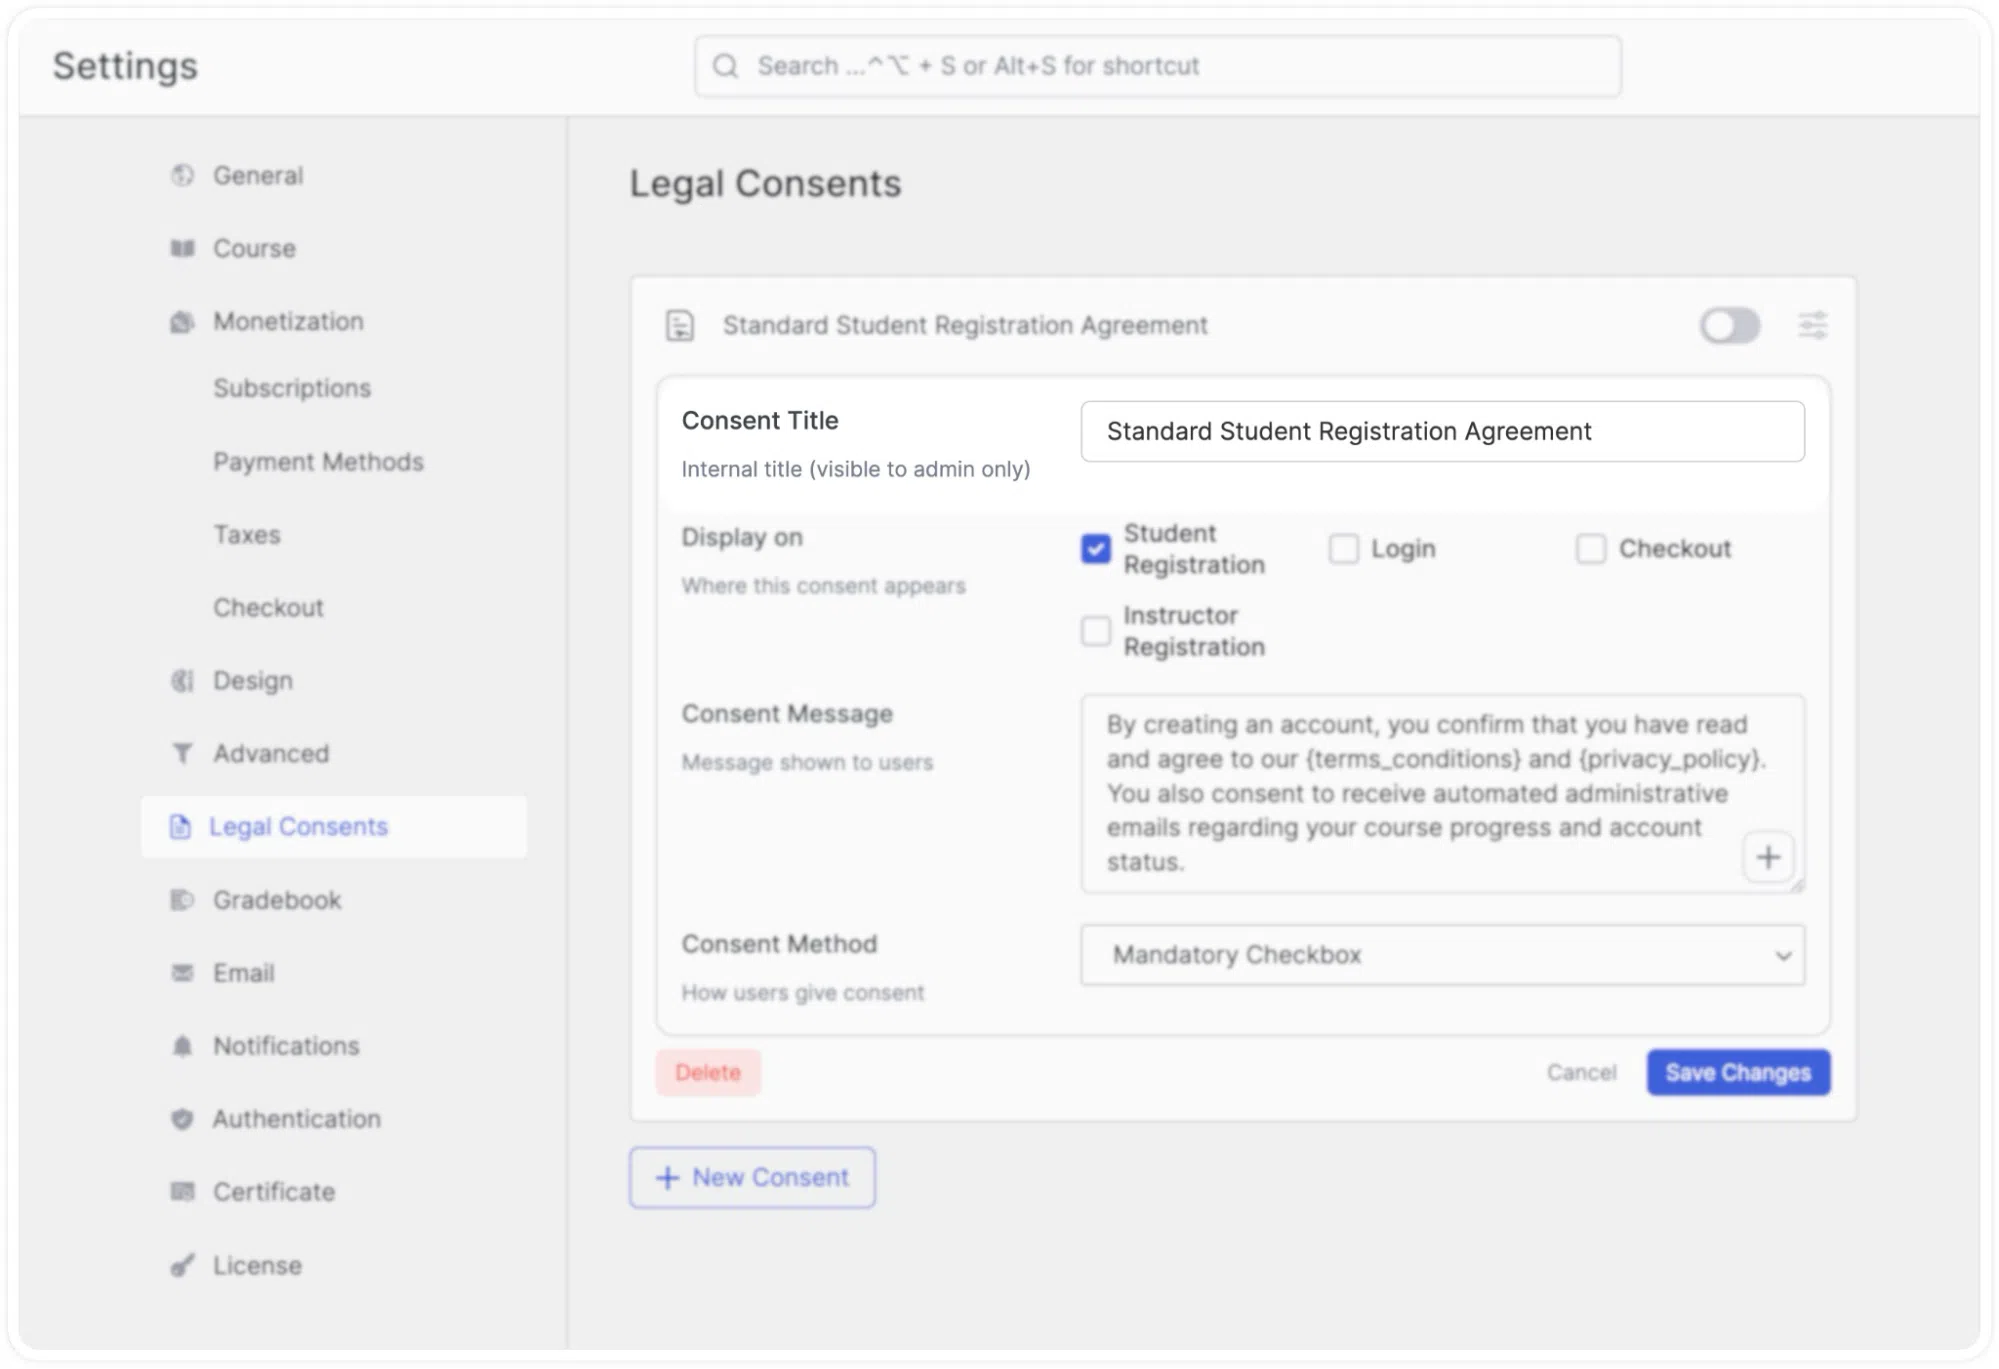
Consent Title
This is an internal label for the consent, visible only to administrators. It does not appear to users on the front end. Use a clear, descriptive name so you can easily identify each consent in the list. For example, “Terms of Service – Checkout” or “Instructor Agreement.”
Display on
This section determines where the consent appears to users. You can tick any combination of the following four locations:
- Student Registration: The consent is shown on the student registration form.
- Login: The consent is shown on the login page.
- Checkout: The consent is shown on the course checkout page.
- Instructor Registration: The consent is shown on the Instructor Registration page.
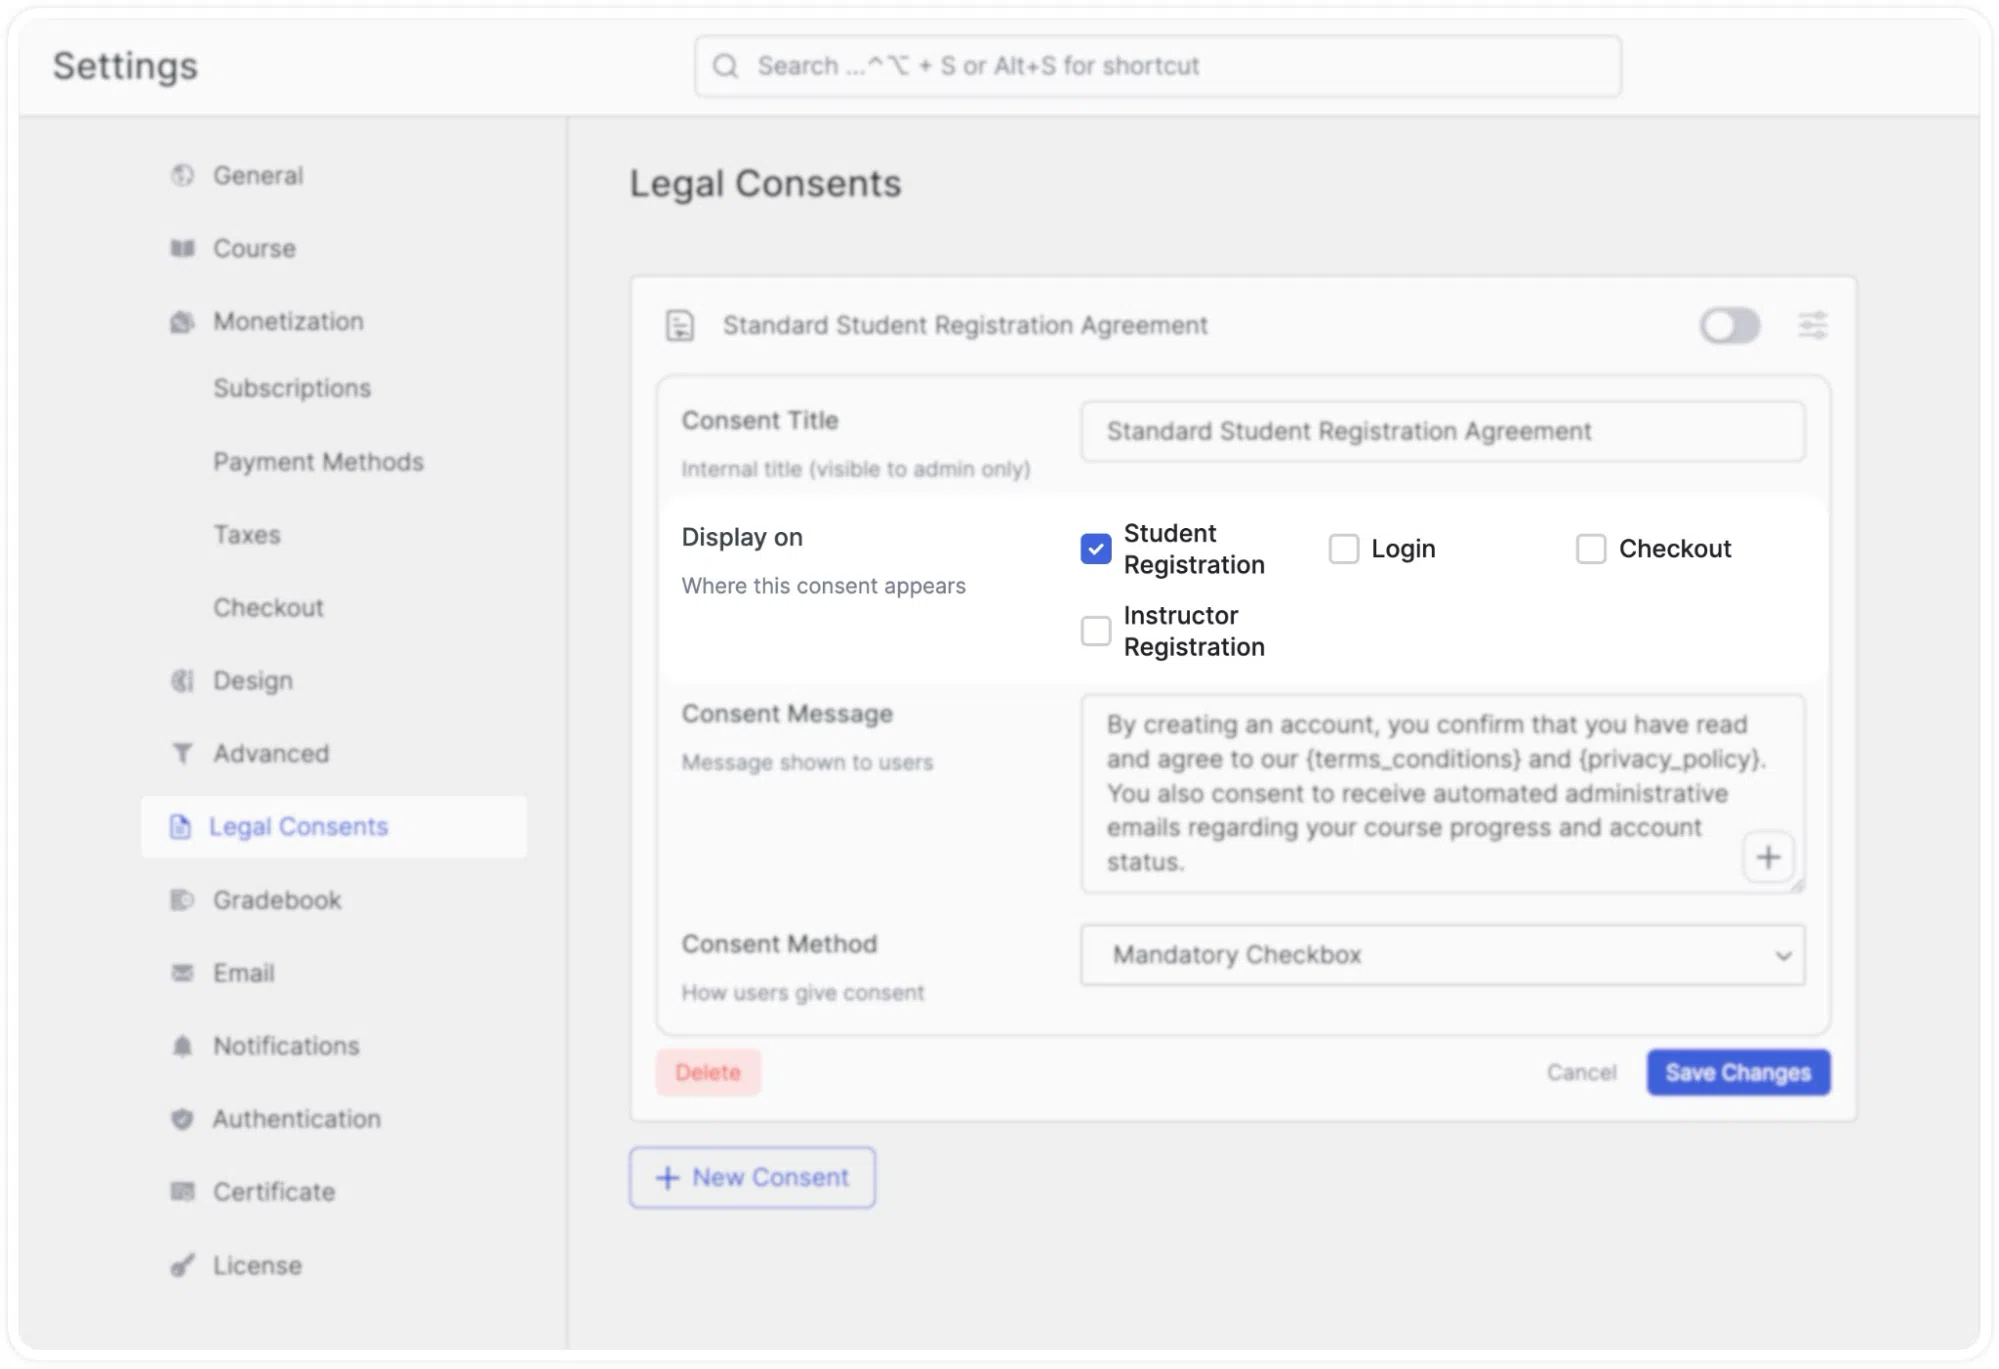
Note: You can select as many of these locations as needed. A single consent can be shown in all four places at once, or limited to just one.
Consent Message
This is the text displayed to users at the selected locations. The default placeholder text is “By continuing, you agree to our Terms of Service and Privacy Policy.” You can replace this with any message appropriate for your platform.
The message field supports merge tags, which are special placeholders that are automatically replaced with links to specific pages on your site when the consent is displayed to users. For example:
- {login} — inserts a link to your login page
- {checkout} — inserts a link to your checkout page
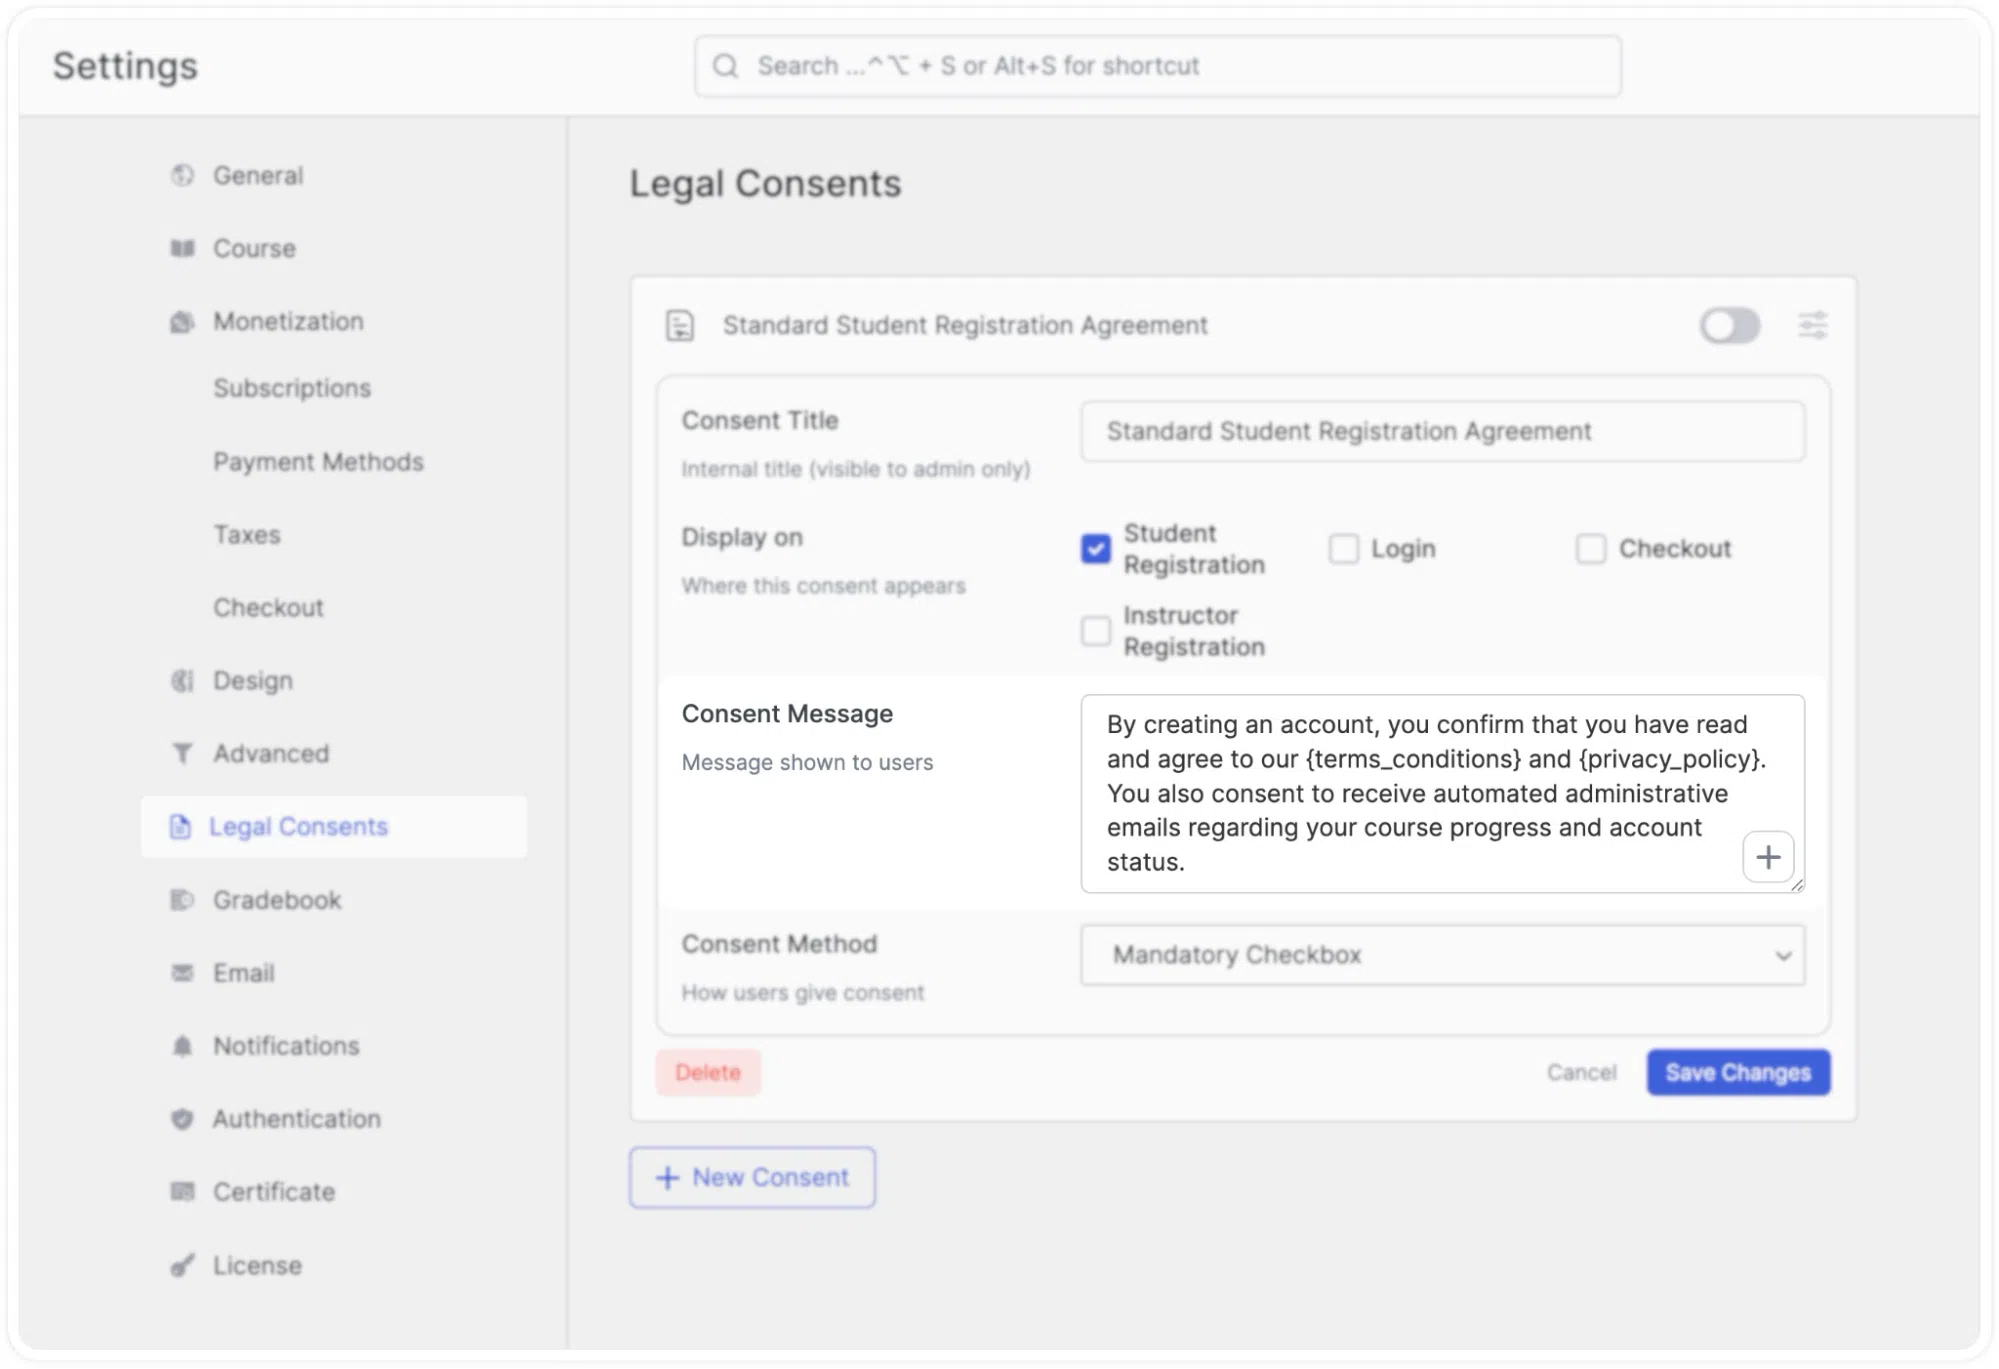
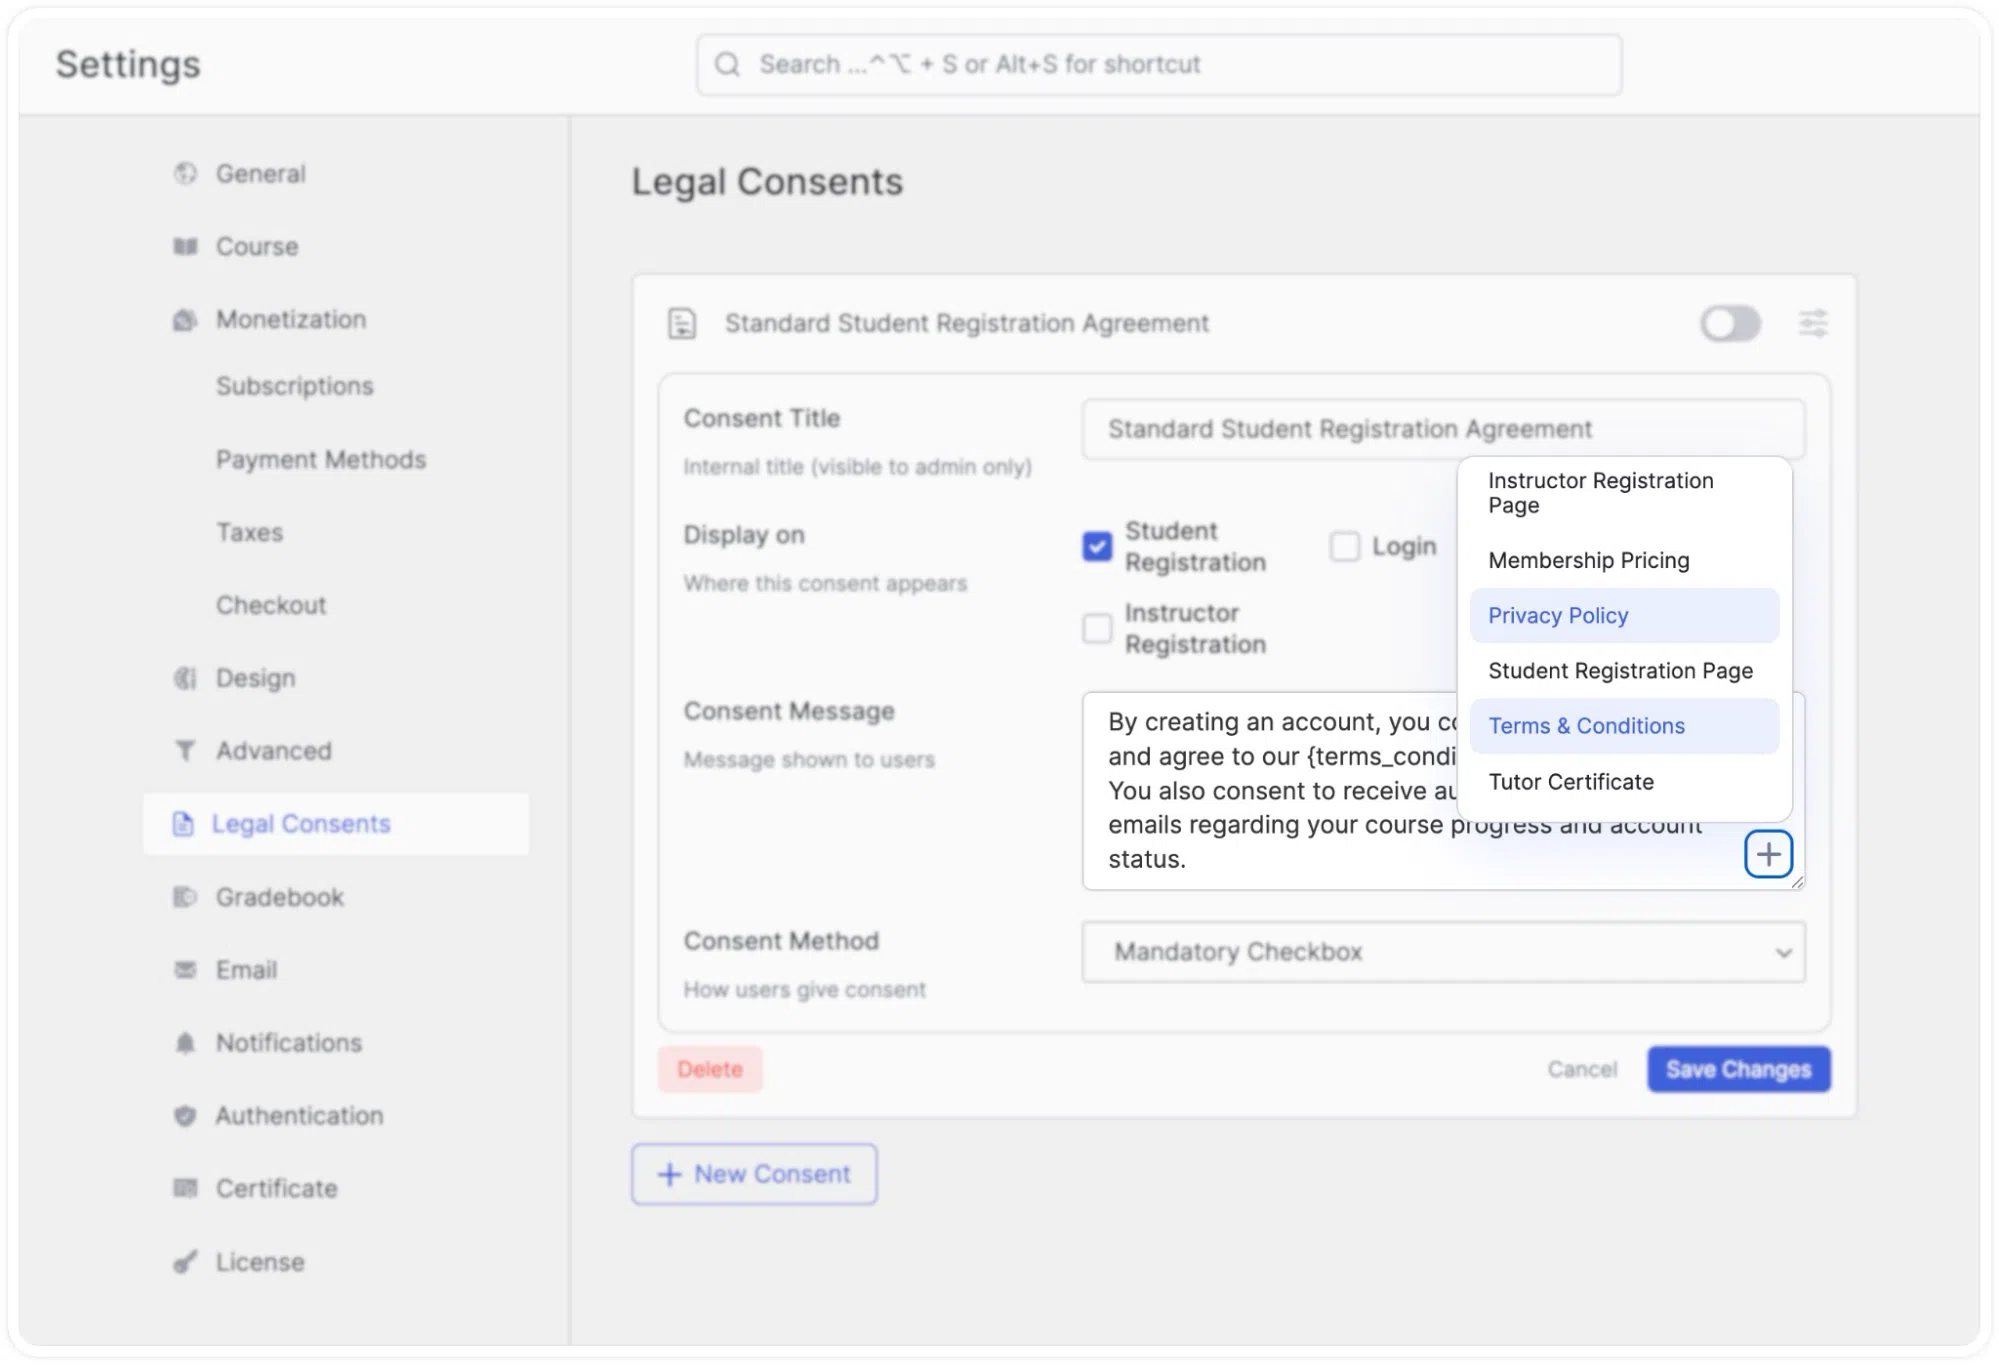
To insert a page link into the consent message, click the + button at the bottom-right corner of the message field. A dropdown appears showing a list of all pages on your WordPress site (such as Academic, Admission, Articles, Blogs, Careers, Cart, and so on). Selecting a page from this list inserts the appropriate merge tag into your message text, which will render as a clickable link on the front end.
Consent Method
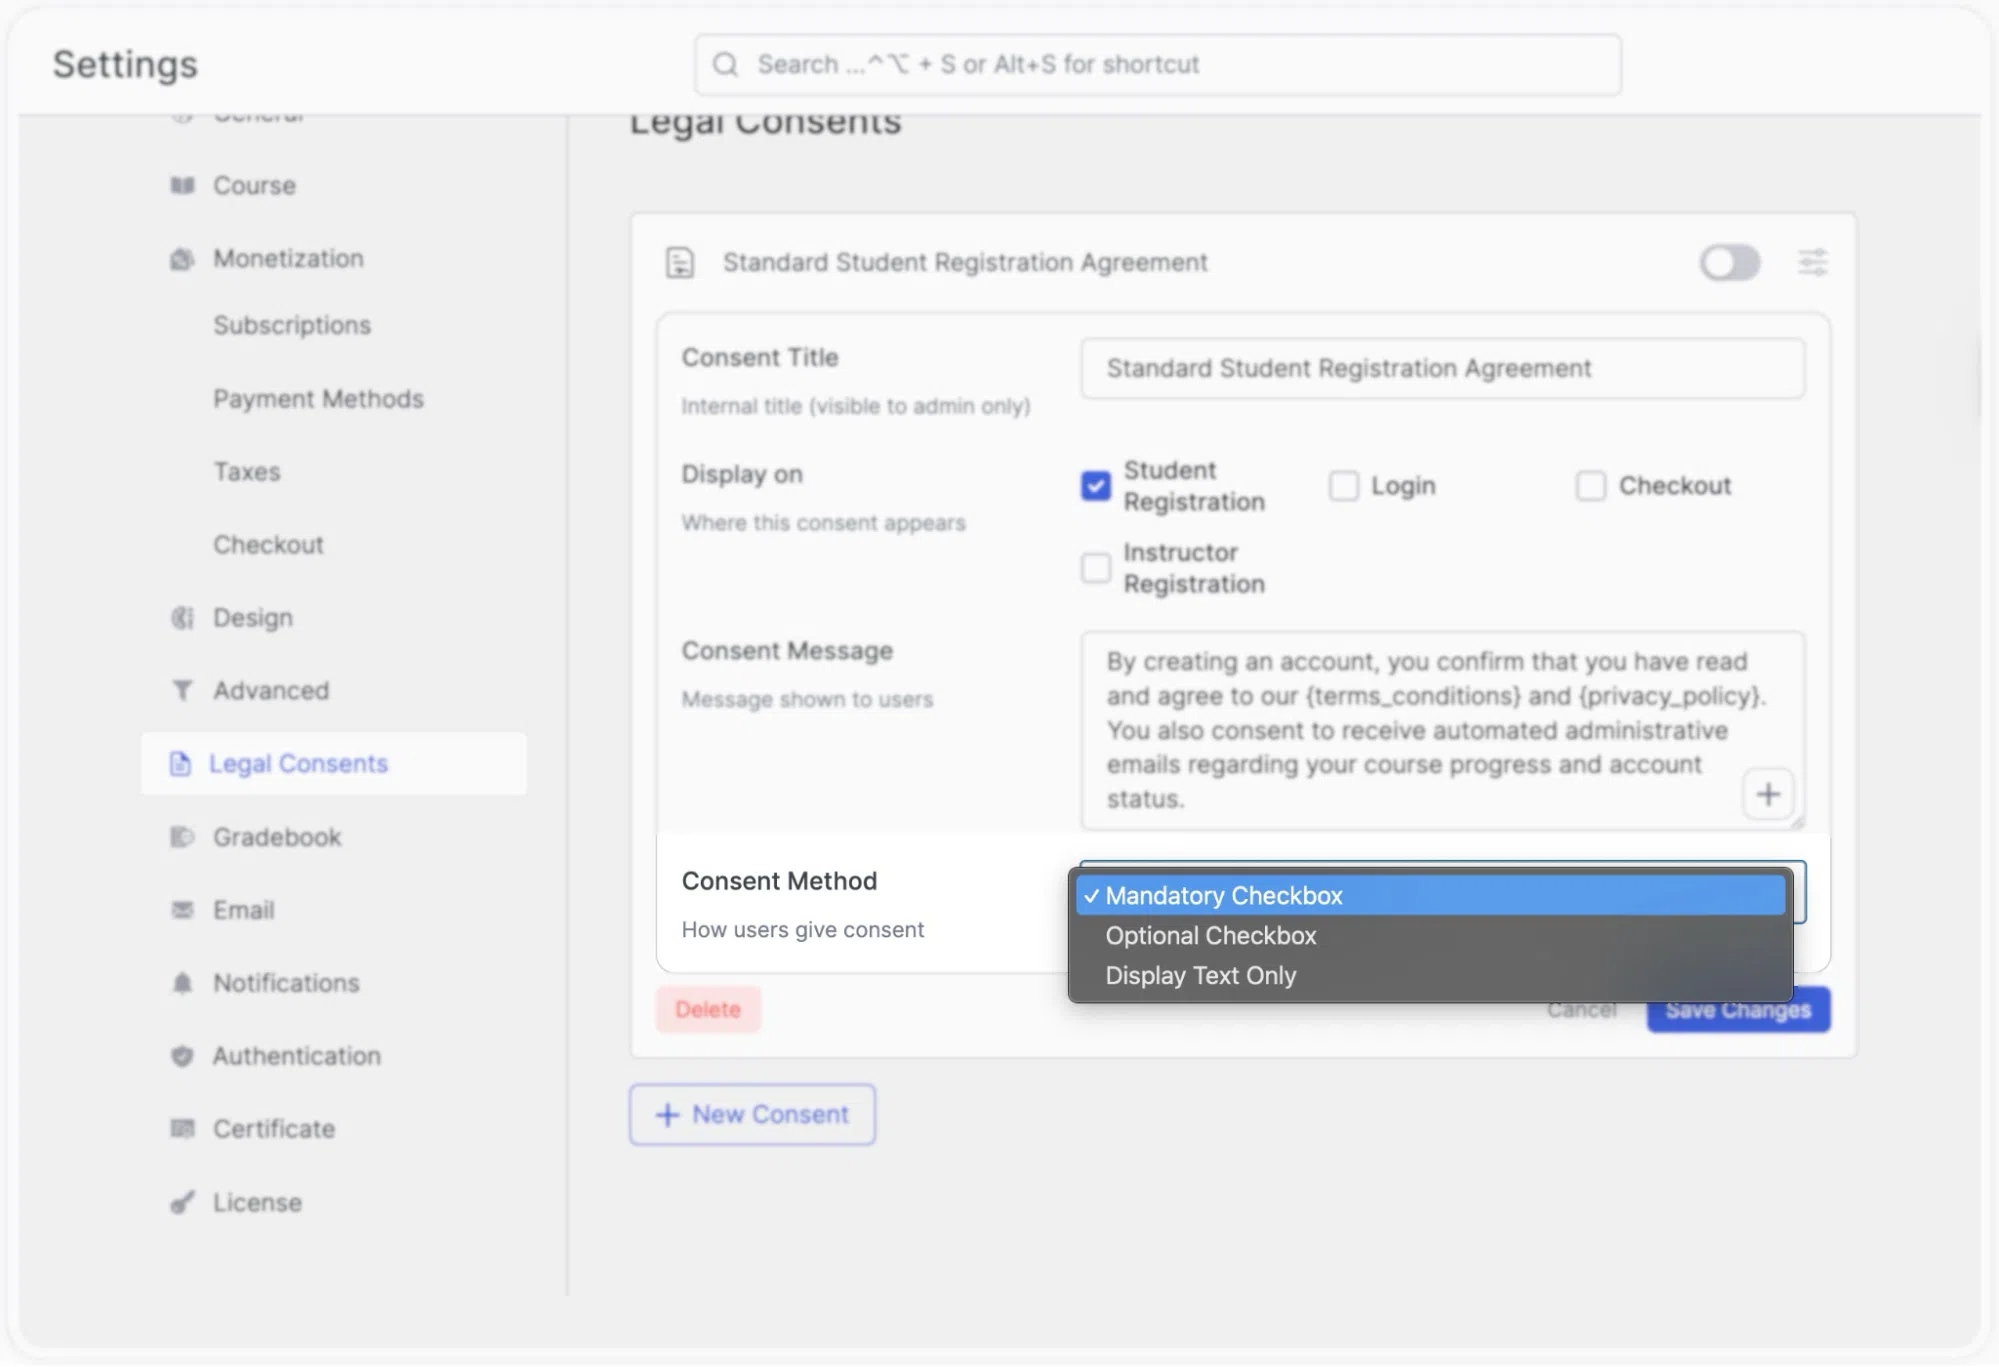
This controls how users interact with the consent message. The dropdown has three options:
- Mandatory Checkbox: A checkbox is shown alongside the consent message. The user must tick it before they can proceed. The form cannot be submitted without this checkbox being checked. This is the strictest option and the most appropriate for legally required agreements.
- Optional Checkbox: A checkbox is shown, but the user can proceed without checking it. Use this when you want to present information but do not require explicit agreement as a condition of continuing.
- Display Text Only: No checkbox is shown at all. The consent message is displayed as plain text on the form. This is suitable when you simply want to inform users of a policy without requiring any active acknowledgement.
Saving and Managing Consents
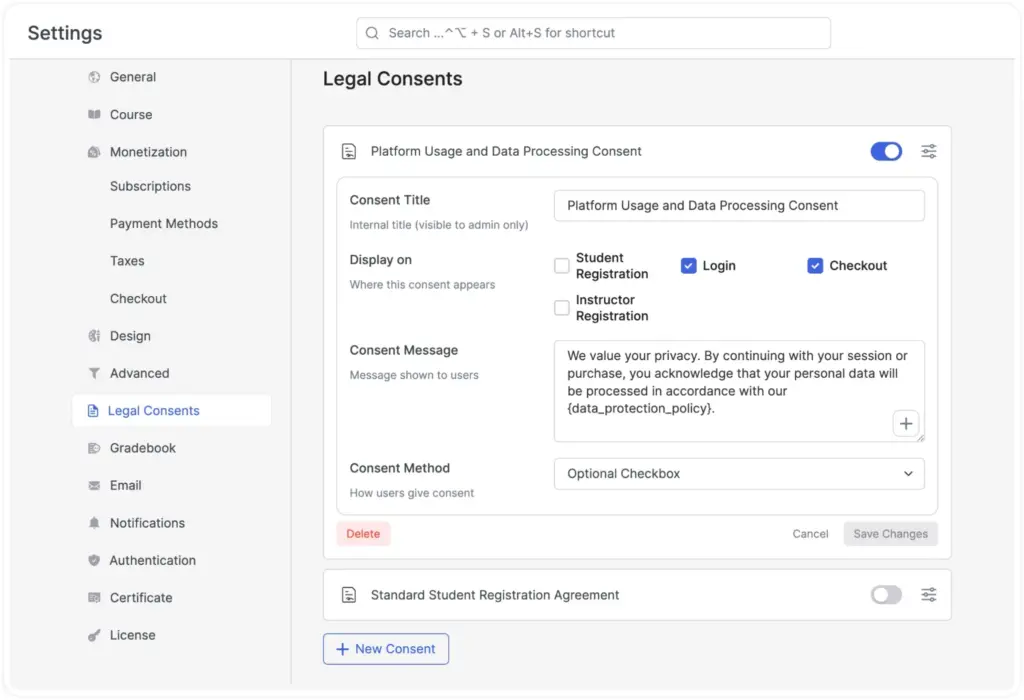
After filling in all fields, click Save Changes to create the consent. A green success notification appears at the bottom of the screen confirming “Legal consent created successfully.”
Once saved, each consent appears as a collapsed card in the list showing its title. You can:
- Expand the card by clicking the settings icon on the right to view and edit all fields.
- Enable or disable the consent using the toggle on the right side of the card header. Disabling a consent removes it from the front end without deleting it, so you can turn it back on at any time.
- Delete a consent by expanding its card and clicking the red Delete button. This permanently removes it.
- Add another consent by clicking + New Consent at the bottom of the page. There is no limit to how many consents you can create.
How Consents Appear on the Front End
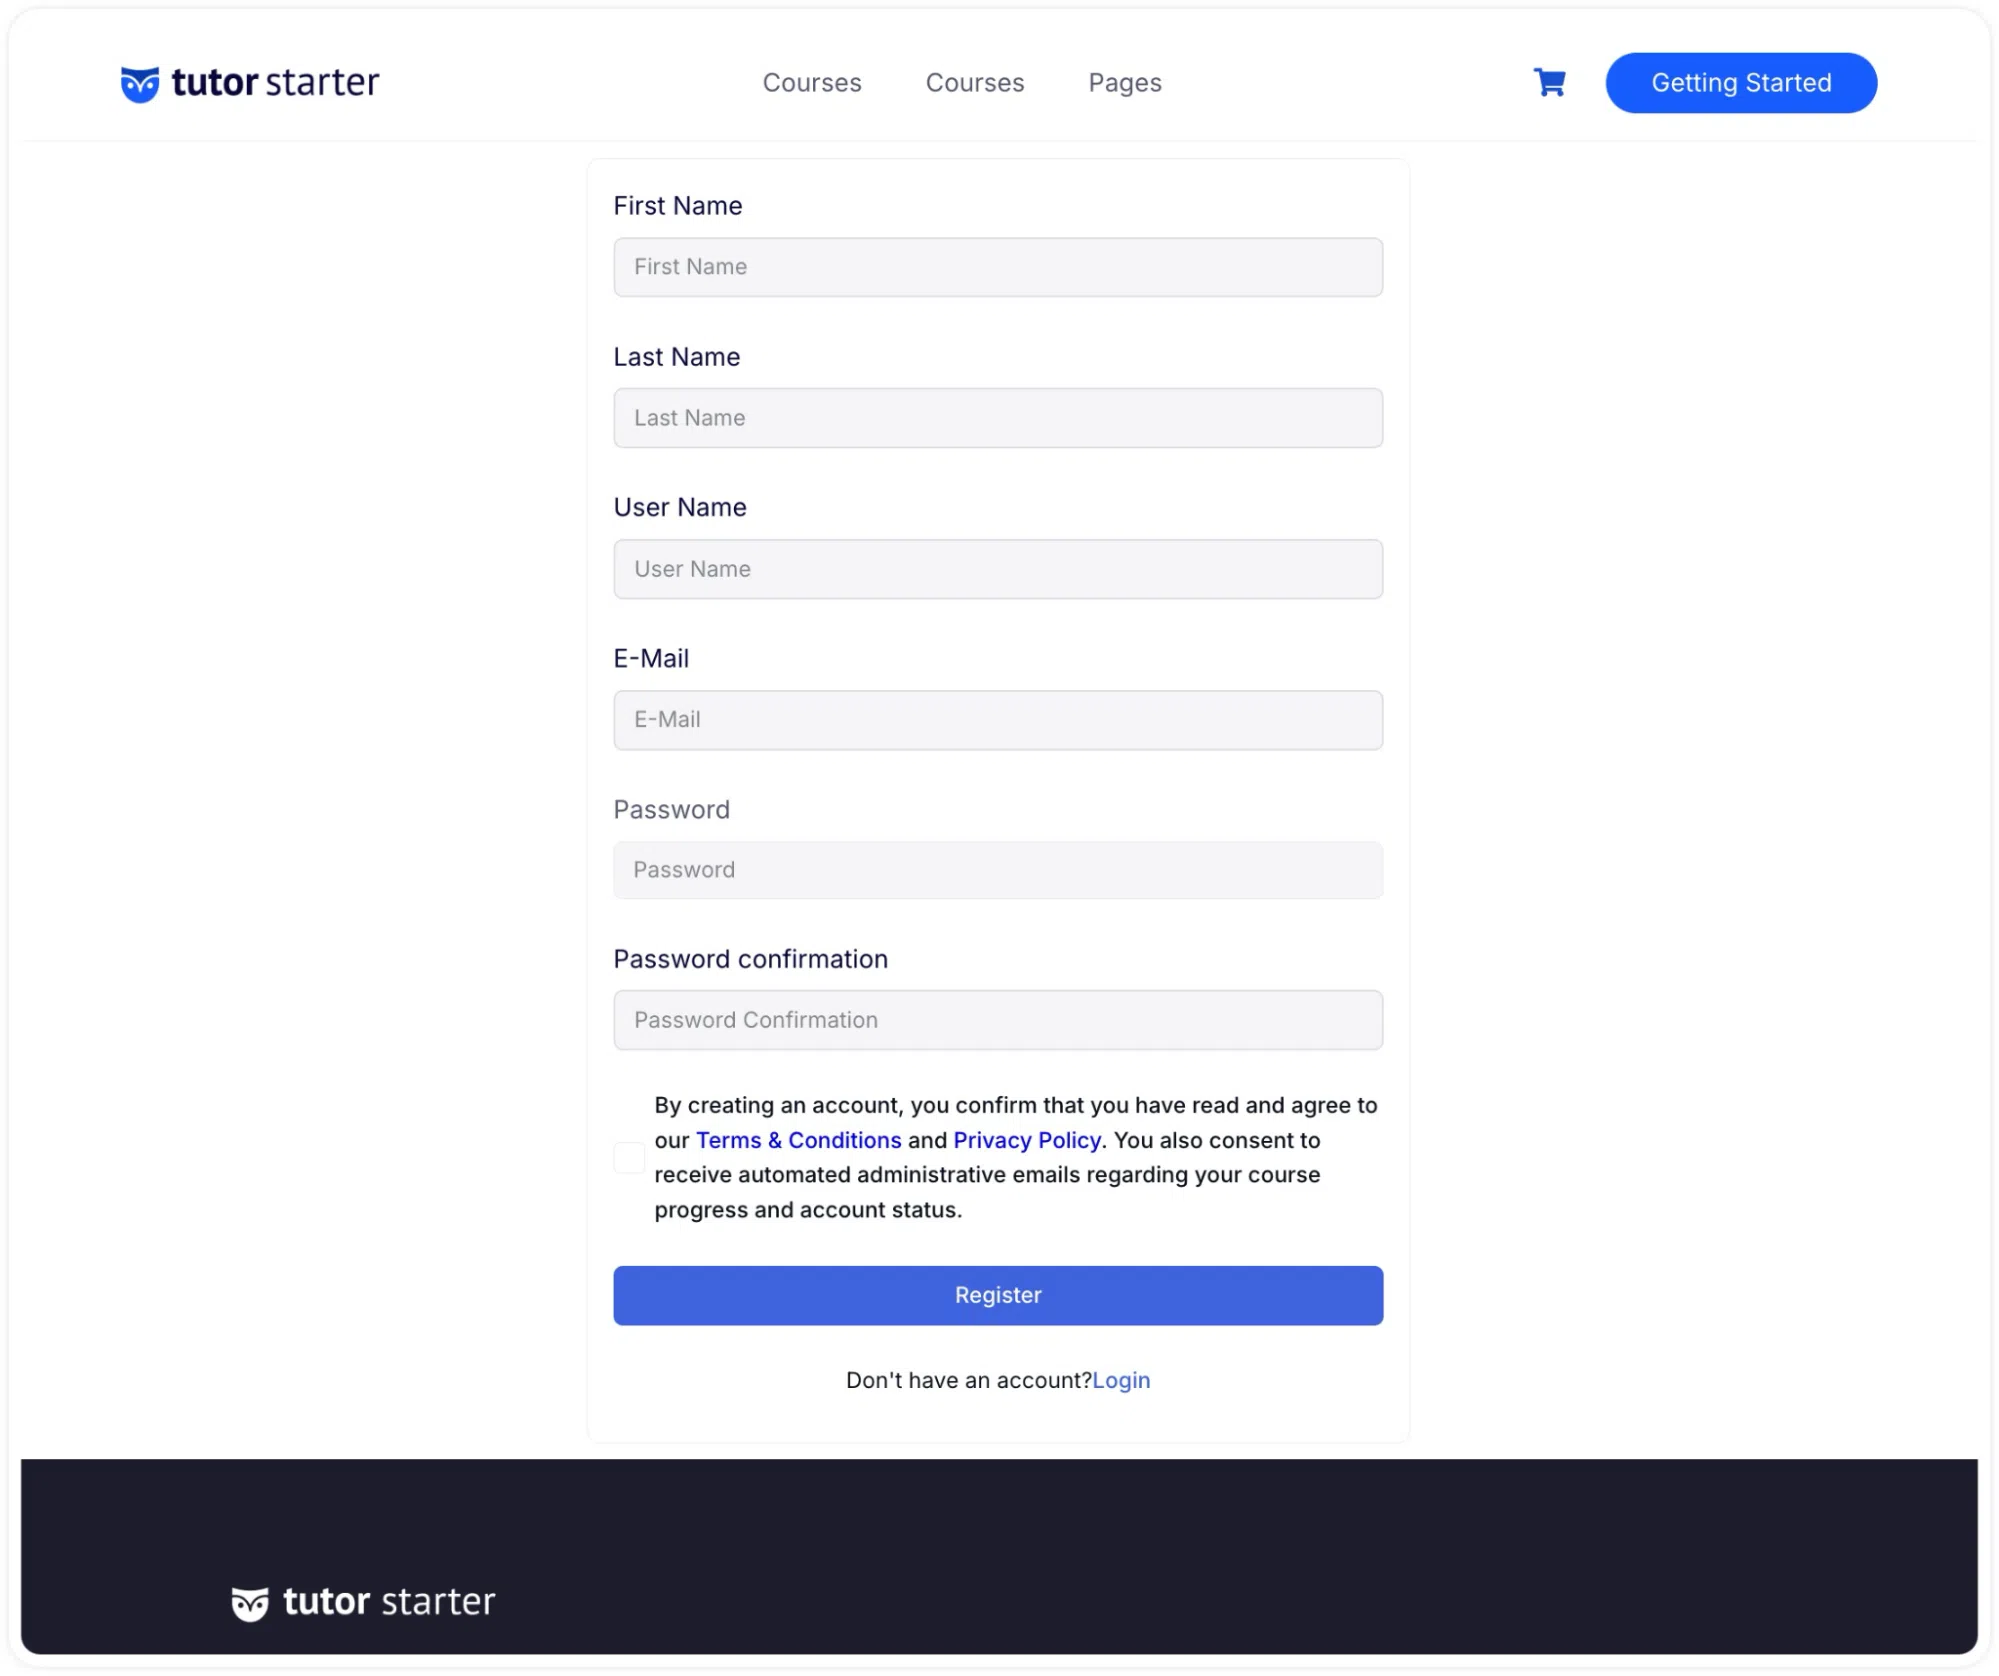
When a consent is active and assigned to one or more display locations, it appears automatically at those locations without requiring any additional setup.
Accessing Consent Logs
Every time a user accepts a consent, Tutor LMS records the acceptance in a consent log. The log captures the consent name, the exact date and time of acceptance, the IP address of the user, the page where the consent was submitted, and the browser user agent. You can access the consent logs of any student, instructor, or WordPress user from three locations.
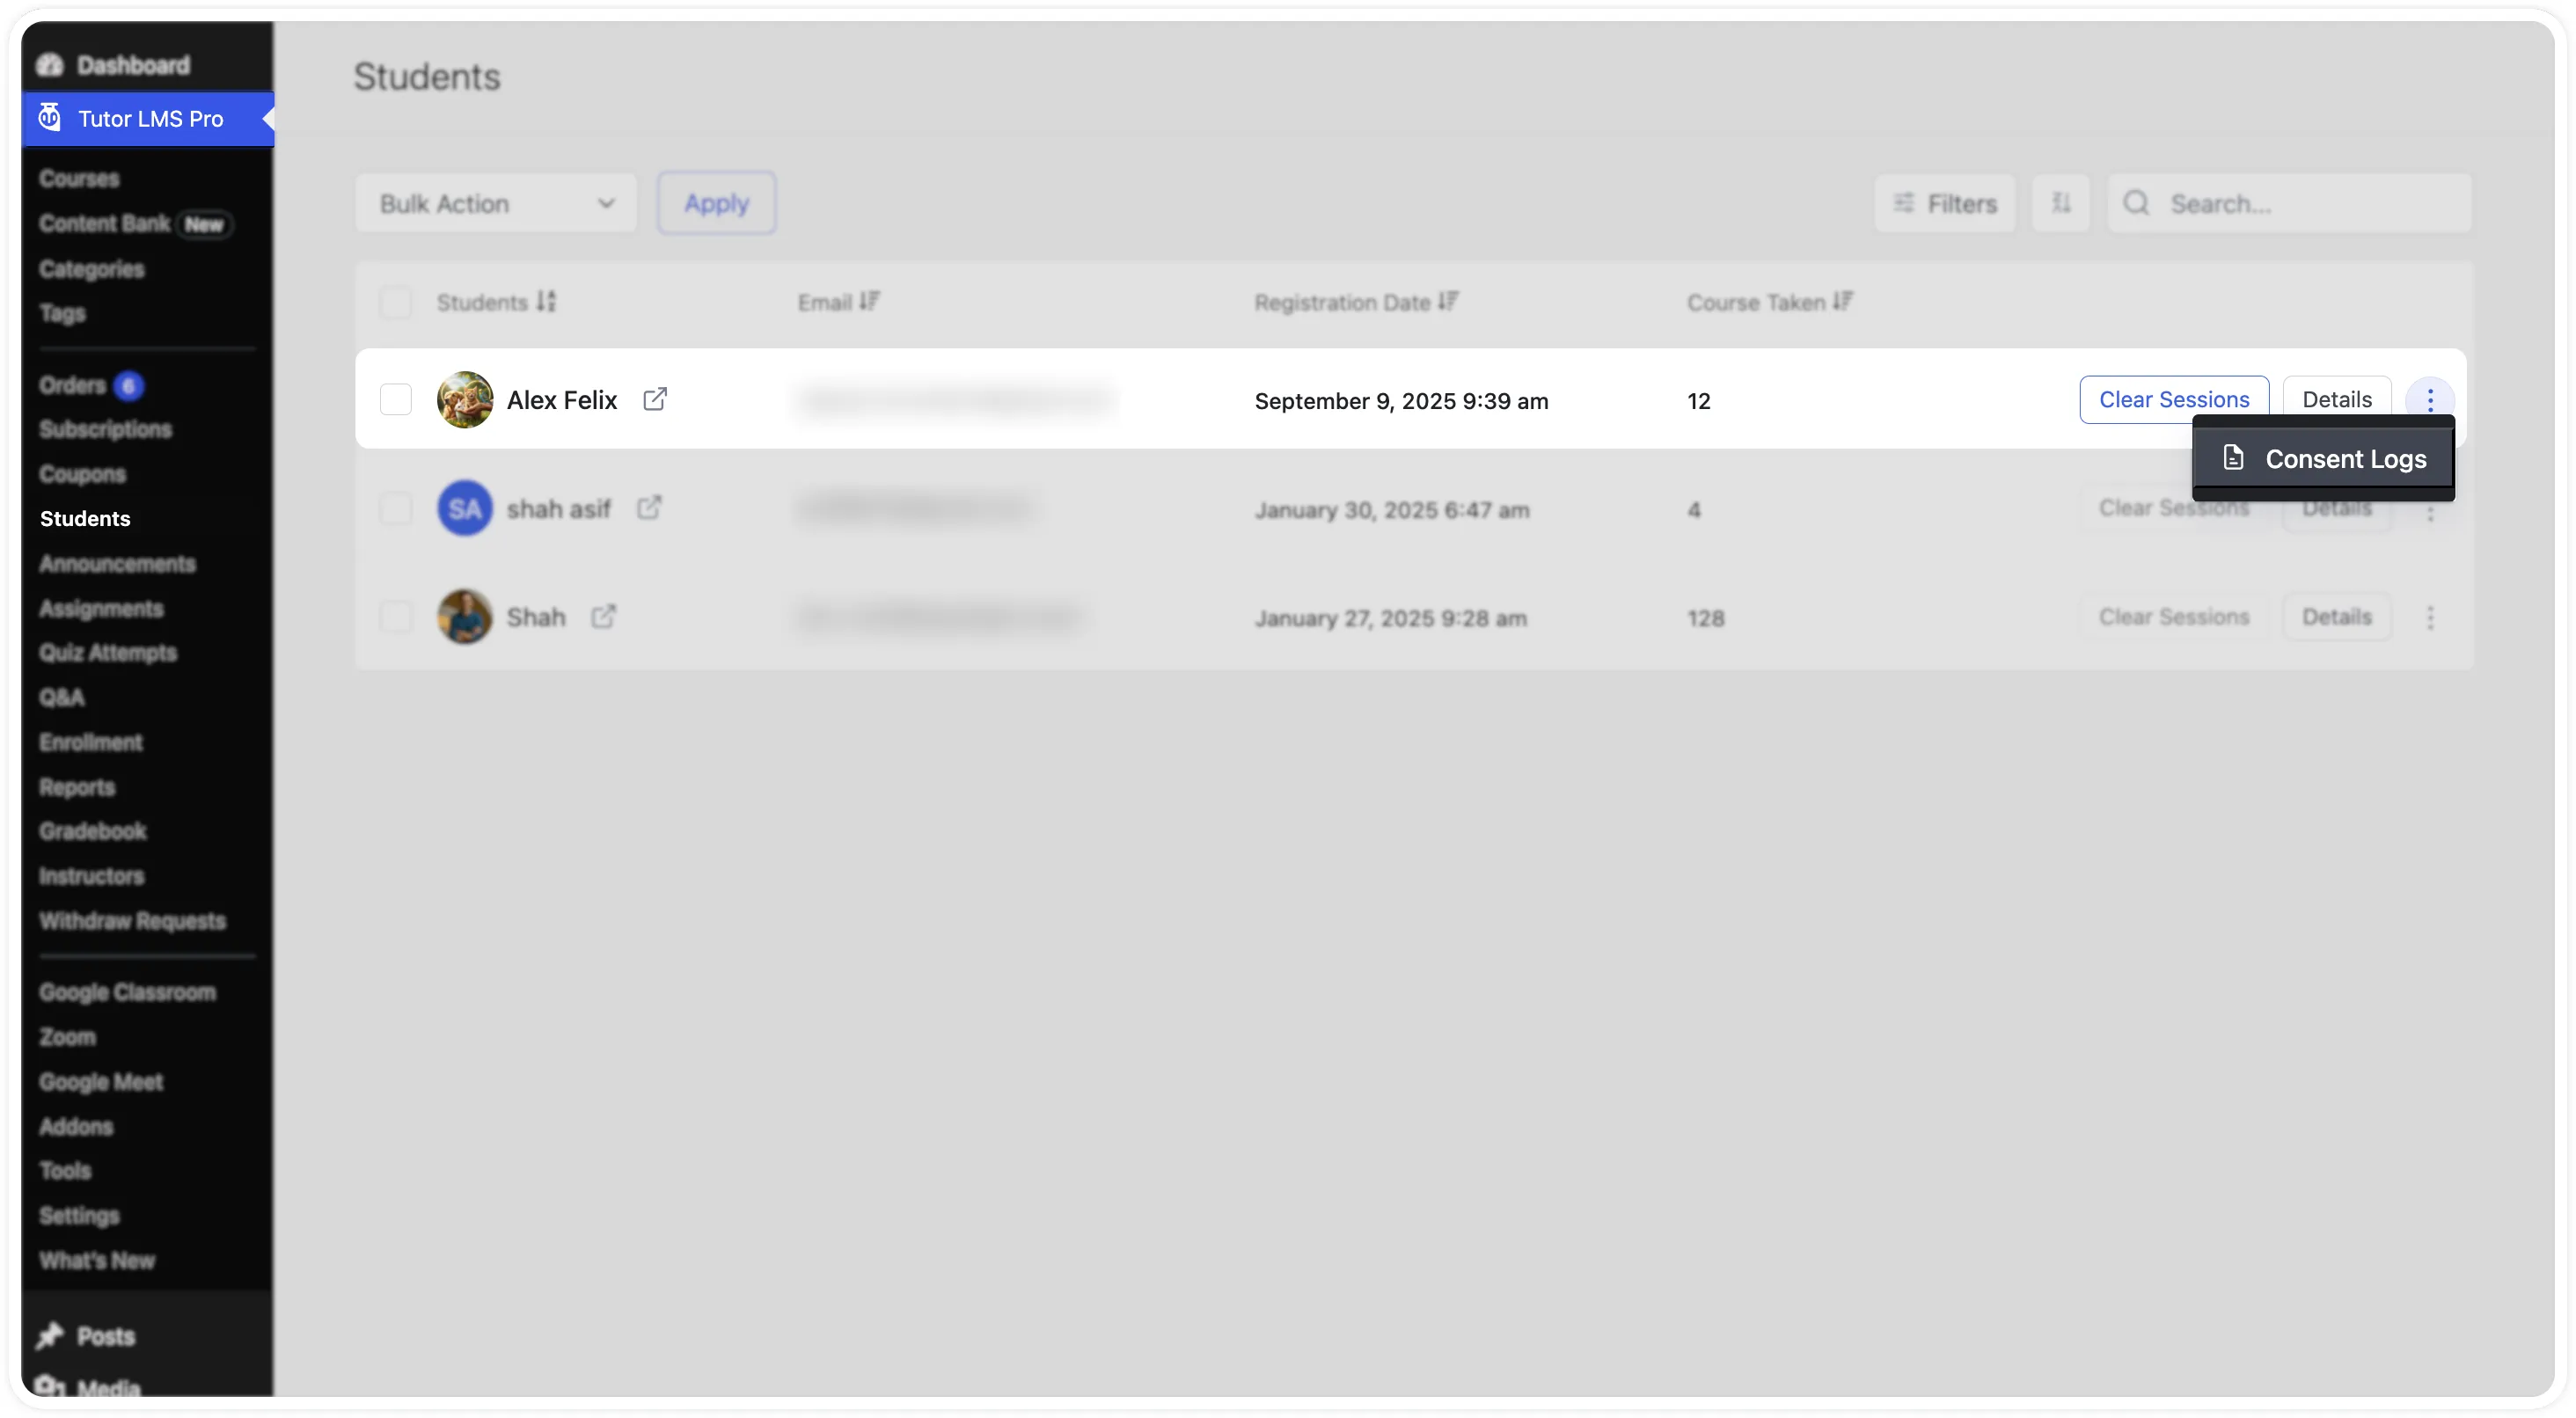
Access Consent Logs from the Students List
In the WordPress admin area, go to Tutor LMS Pro > Students. Locate the student whose consent records you want to review. Click the three-dot (⋮) icon in the action menu on the right side of the student row and select Consent Logs.
Access Consent Logs from the Instructors List
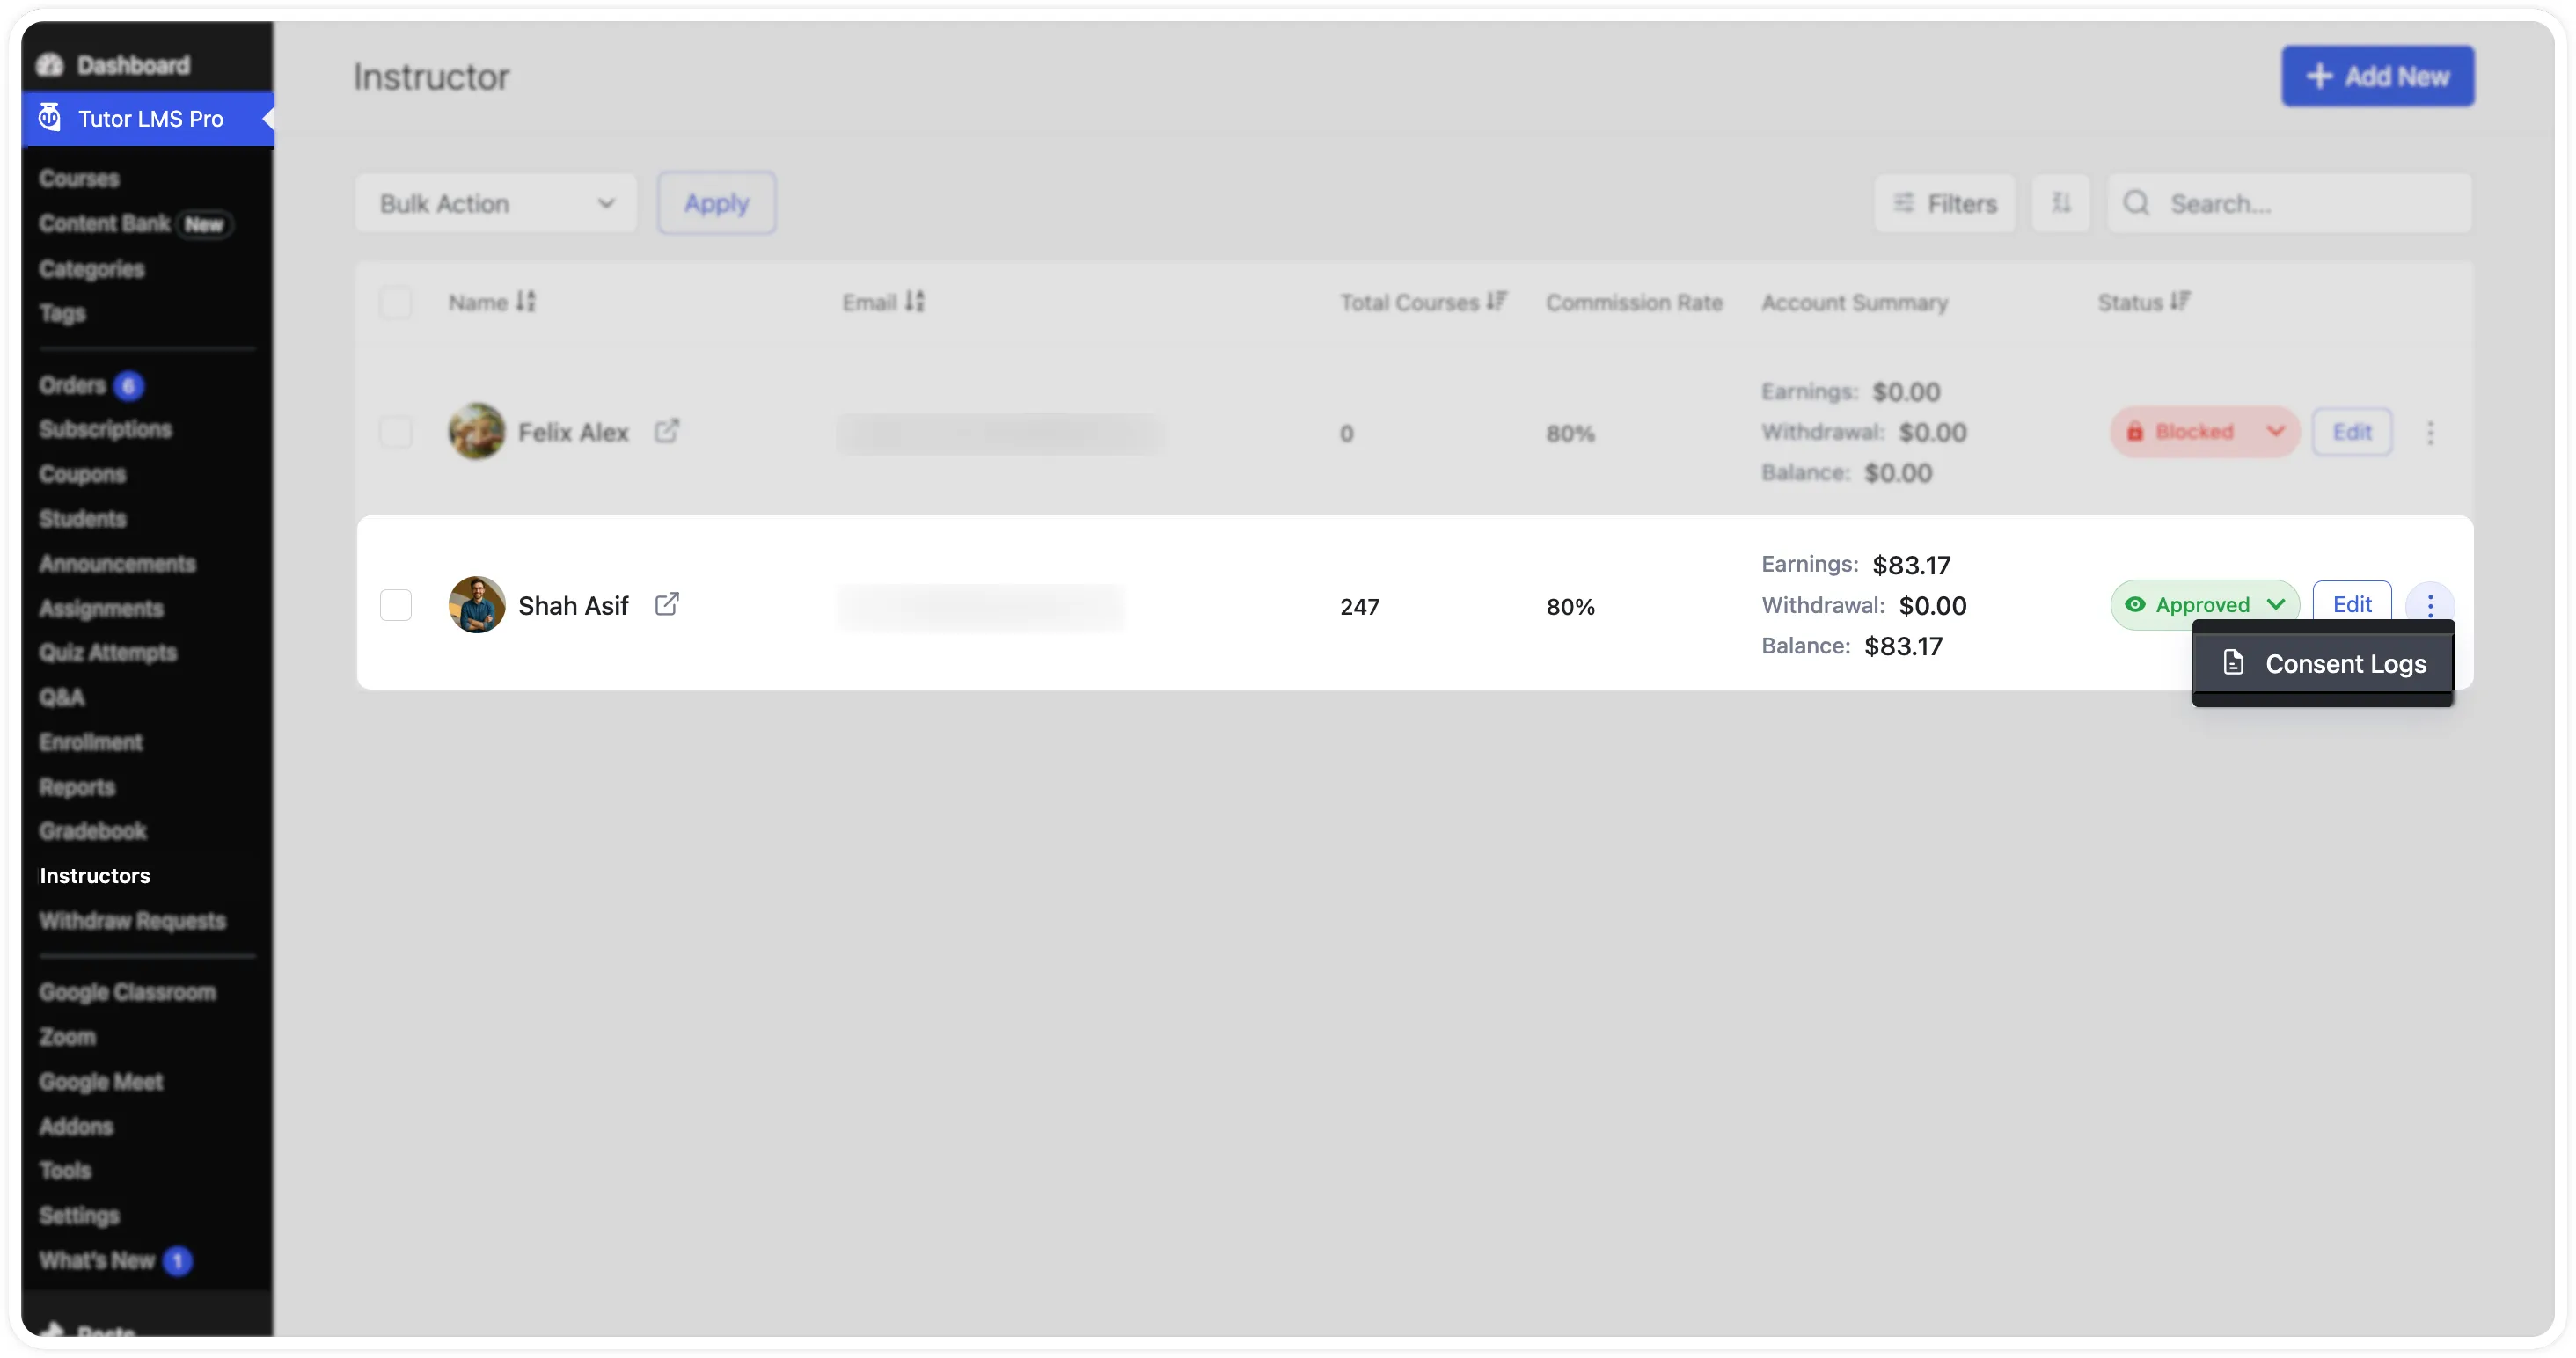
In the WordPress admin area, go to Tutor LMS Pro > Instructors. Locate the instructor whose consent records you want to review. Click the three-dot (⋮) icon in the action menu on the right side of the instructor row and select Consent Logs.
Access Consent Logs from the WordPress Users List
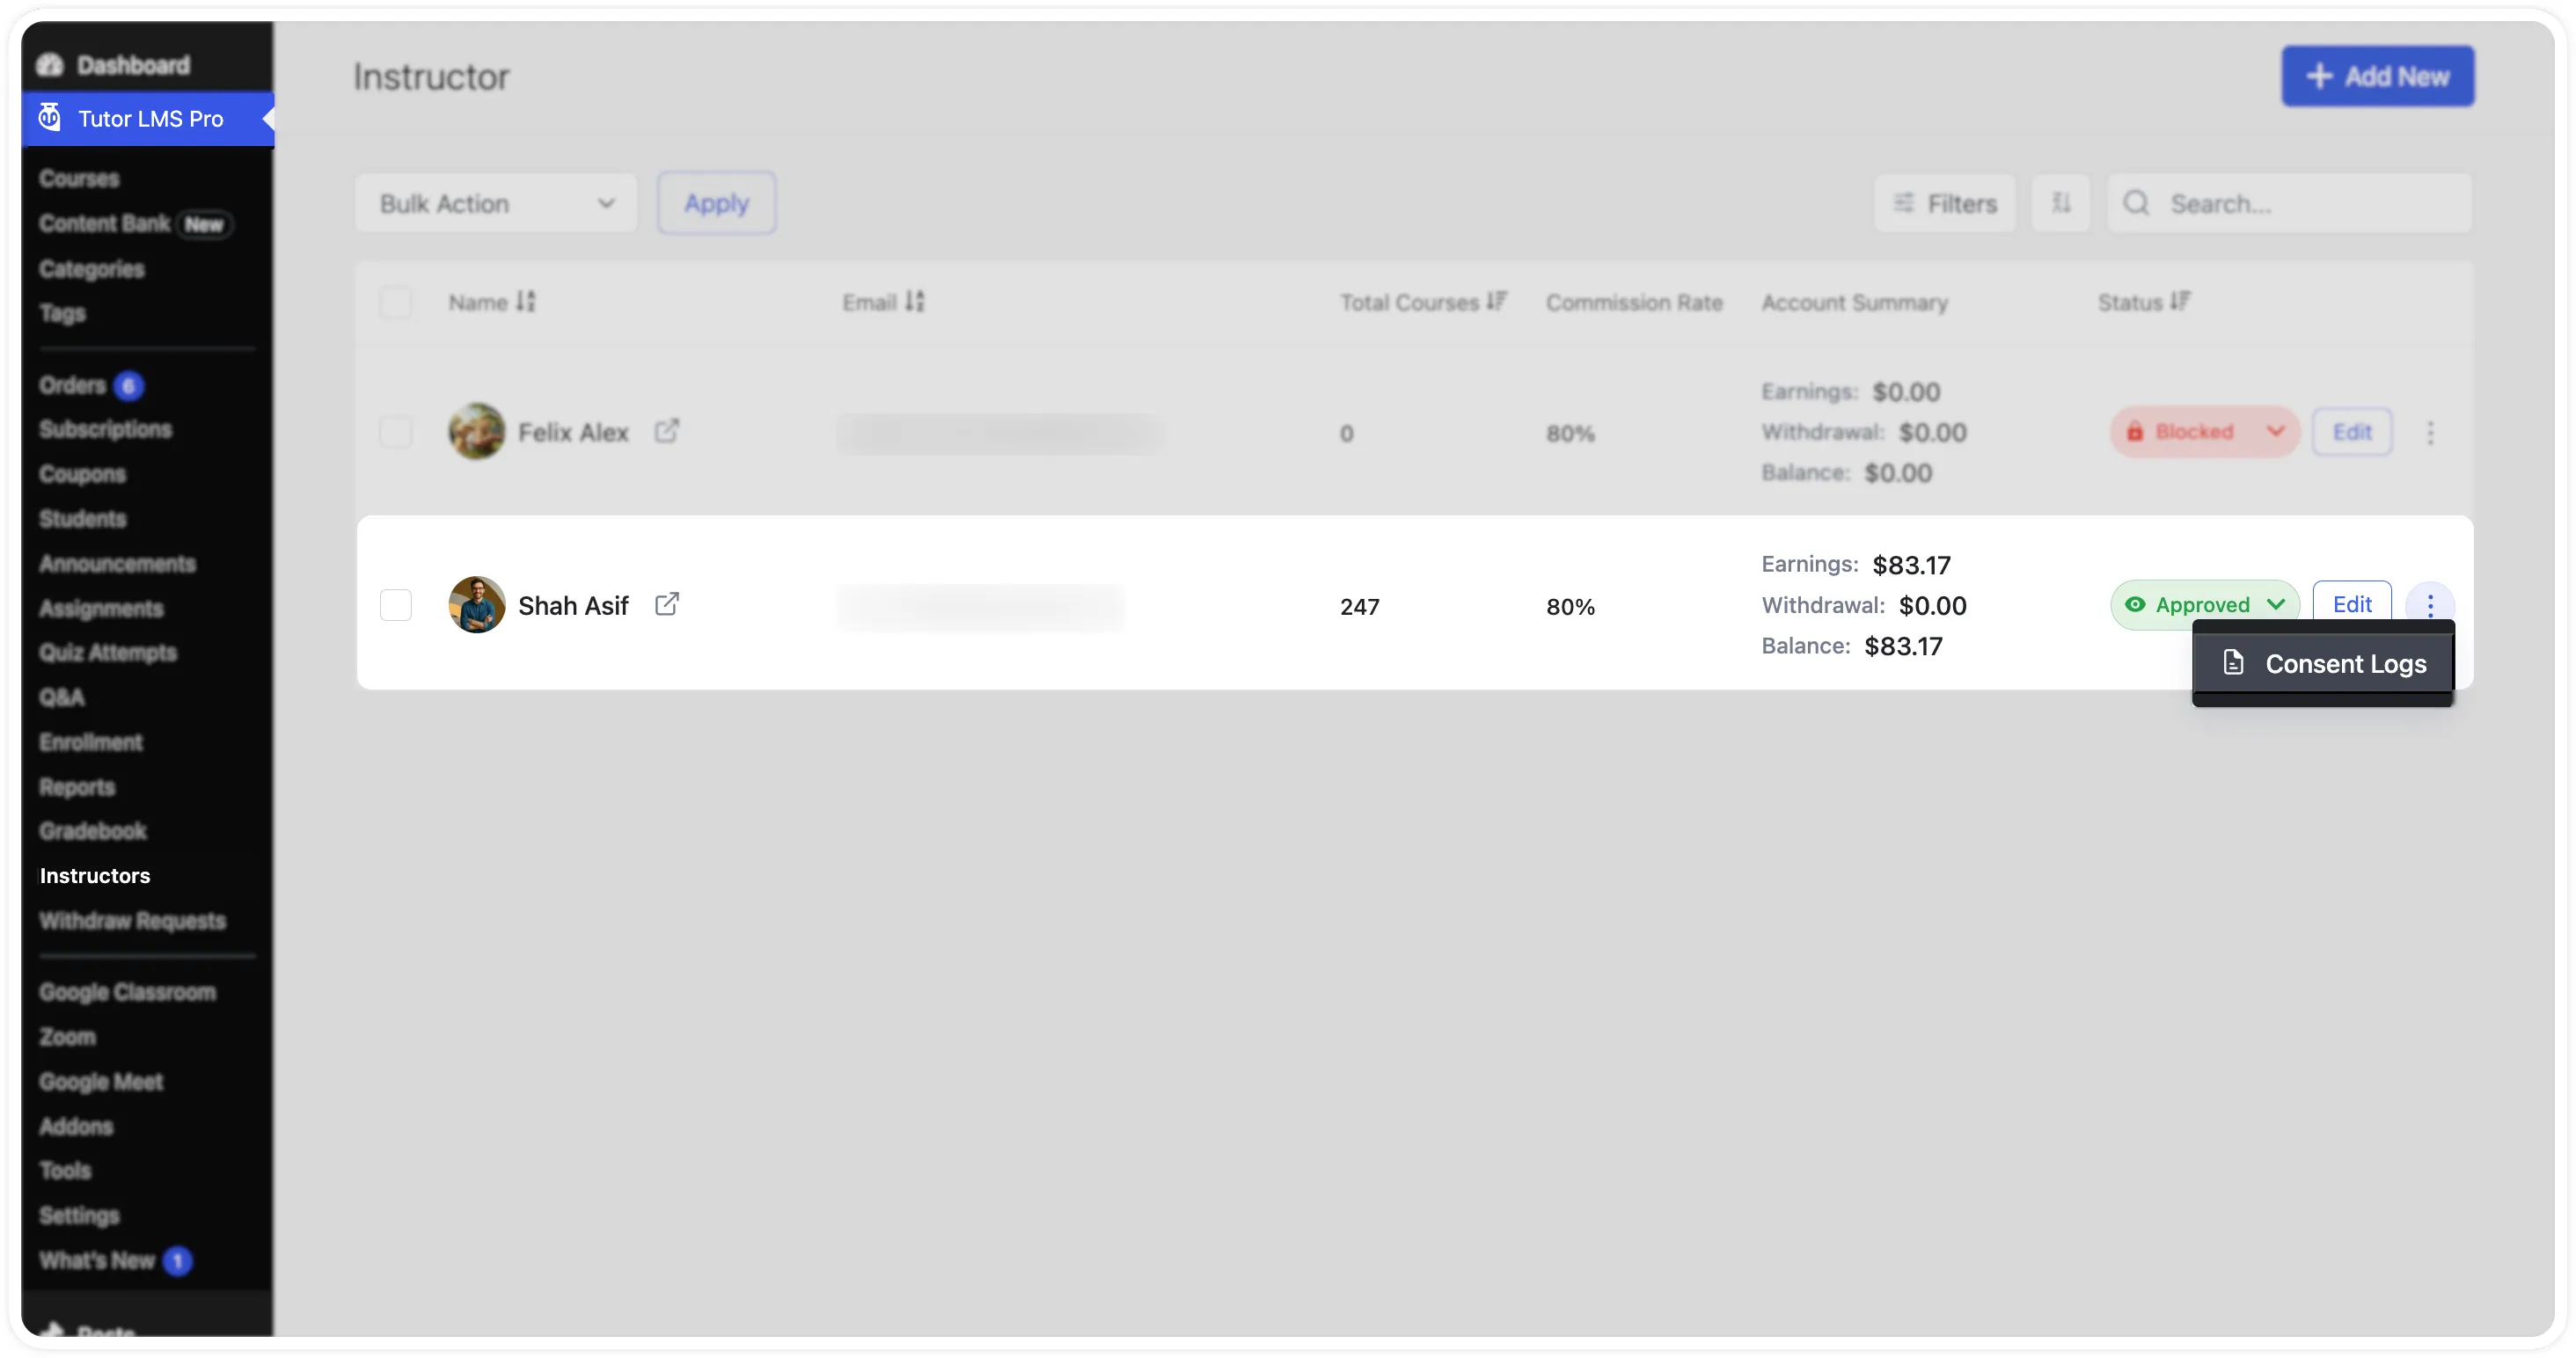
In the WordPress admin area, go to Users > All Users. Each row in the users table includes a Consent Logs column. Click the View Logs button in this column for the account you want to review.
The Consent Logs Modal
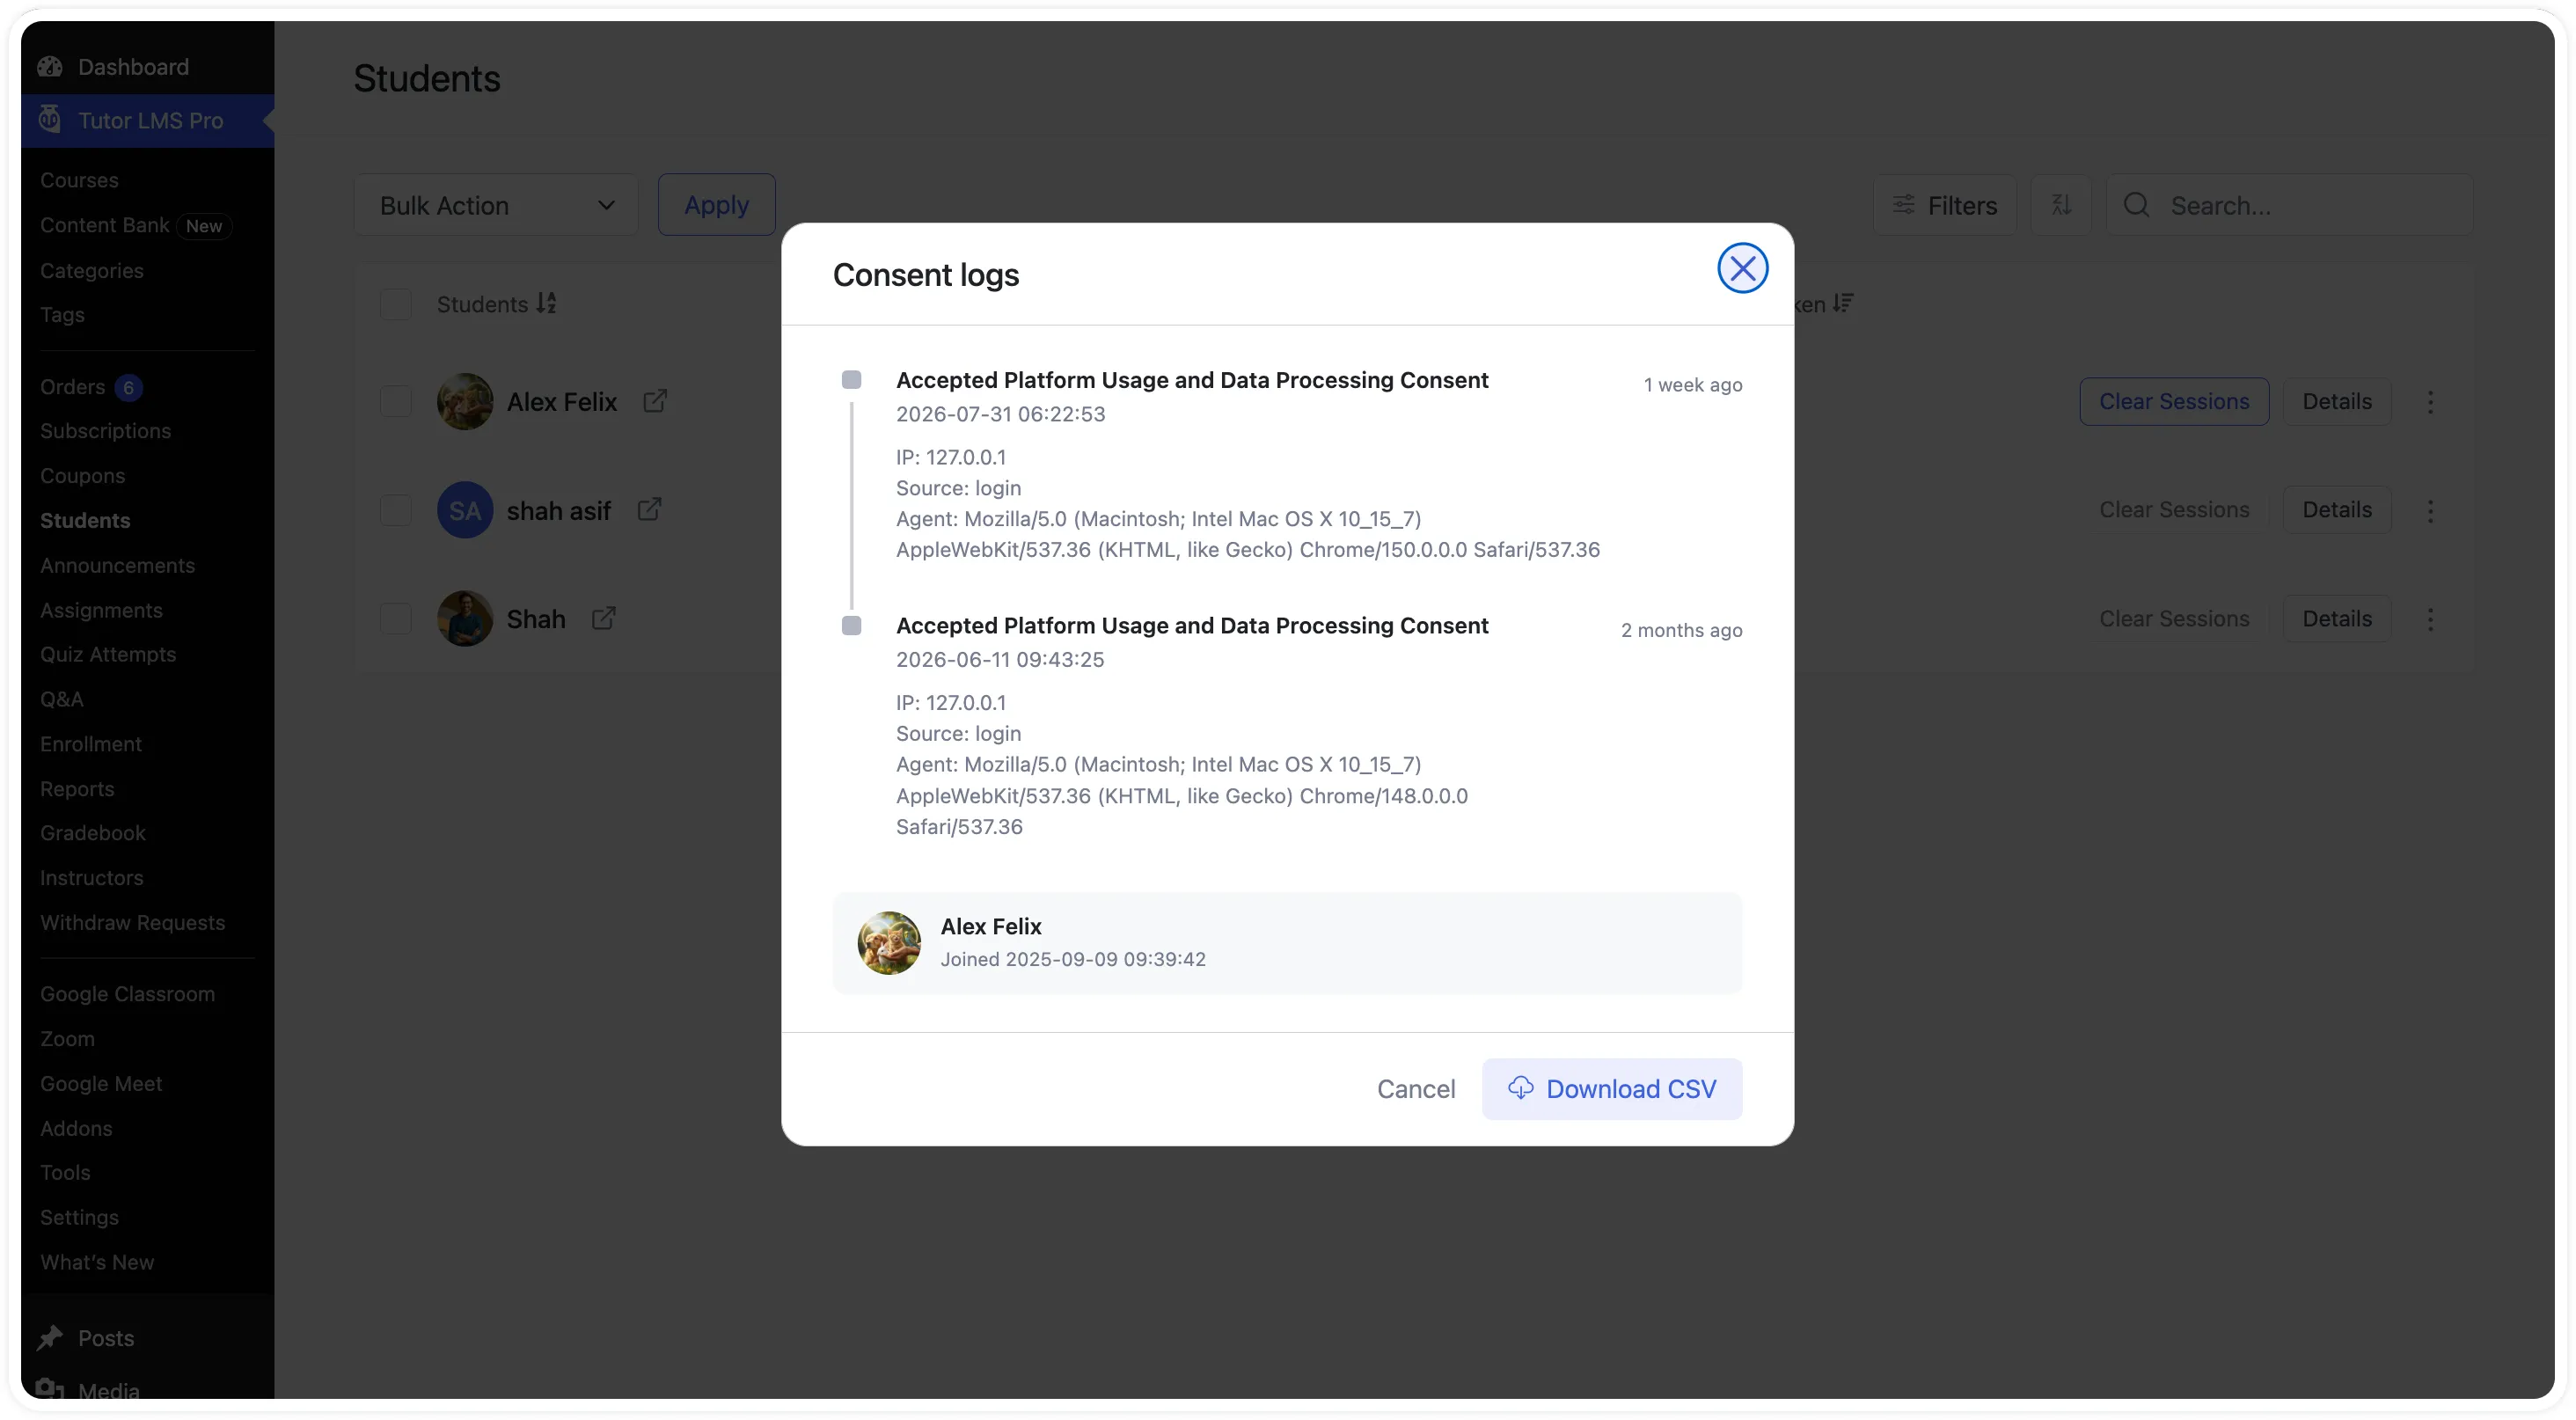
Clicking Consent Logs or View Logs opens the Consent Logs modal. The modal displays every consent acceptance recorded for the selected user, along with the following details:
- Consent Name: The title of the consent that was accepted, such as “Accepted Platform Usage and Data Processing Consent”.
- Timestamp & Relative Time: The exact date and time of acceptance (for example, 2026-07-31 06:22:53), along with a relative time display such as “1 week ago”.
- IP Address: The IP address of the user at the moment of acceptance.
- Source Page: The page where the consent was submitted, such as the login page, the registration form, or the checkout page.
- User Agent: The complete browser and device string of the user, such as Mozilla/5.0 (Windows NT 10.0; Win64; x64).
- User Account Metadata: Details about the user account, such as the joining date and profile information.
Exporting Consent Logs as CSV
At the bottom of the modal, click the Download CSV button to export the displayed consent records as a CSV file. The exported file contains the same details shown in the modal and can be used for compliance reporting, legal reviews, or Data Subject Access Requests (DSARs).