Adding a Certificate to a Course
Adding a Certificate to a Course
When you are done designing a certificate that reflects your eLearning brand and personality, we need to assign the certificate to a course.
Prerequisites
- Tutor LMS Pro
- Certificate addon
- Tutor LMS Certificate Builder
Begin by activating the add-on from Tutor LMS Pro > Add-ons if you have not activated it already.
Publish The Certificate
Once you have completed the certificate design, hit the Publish button located at the top of the screen.
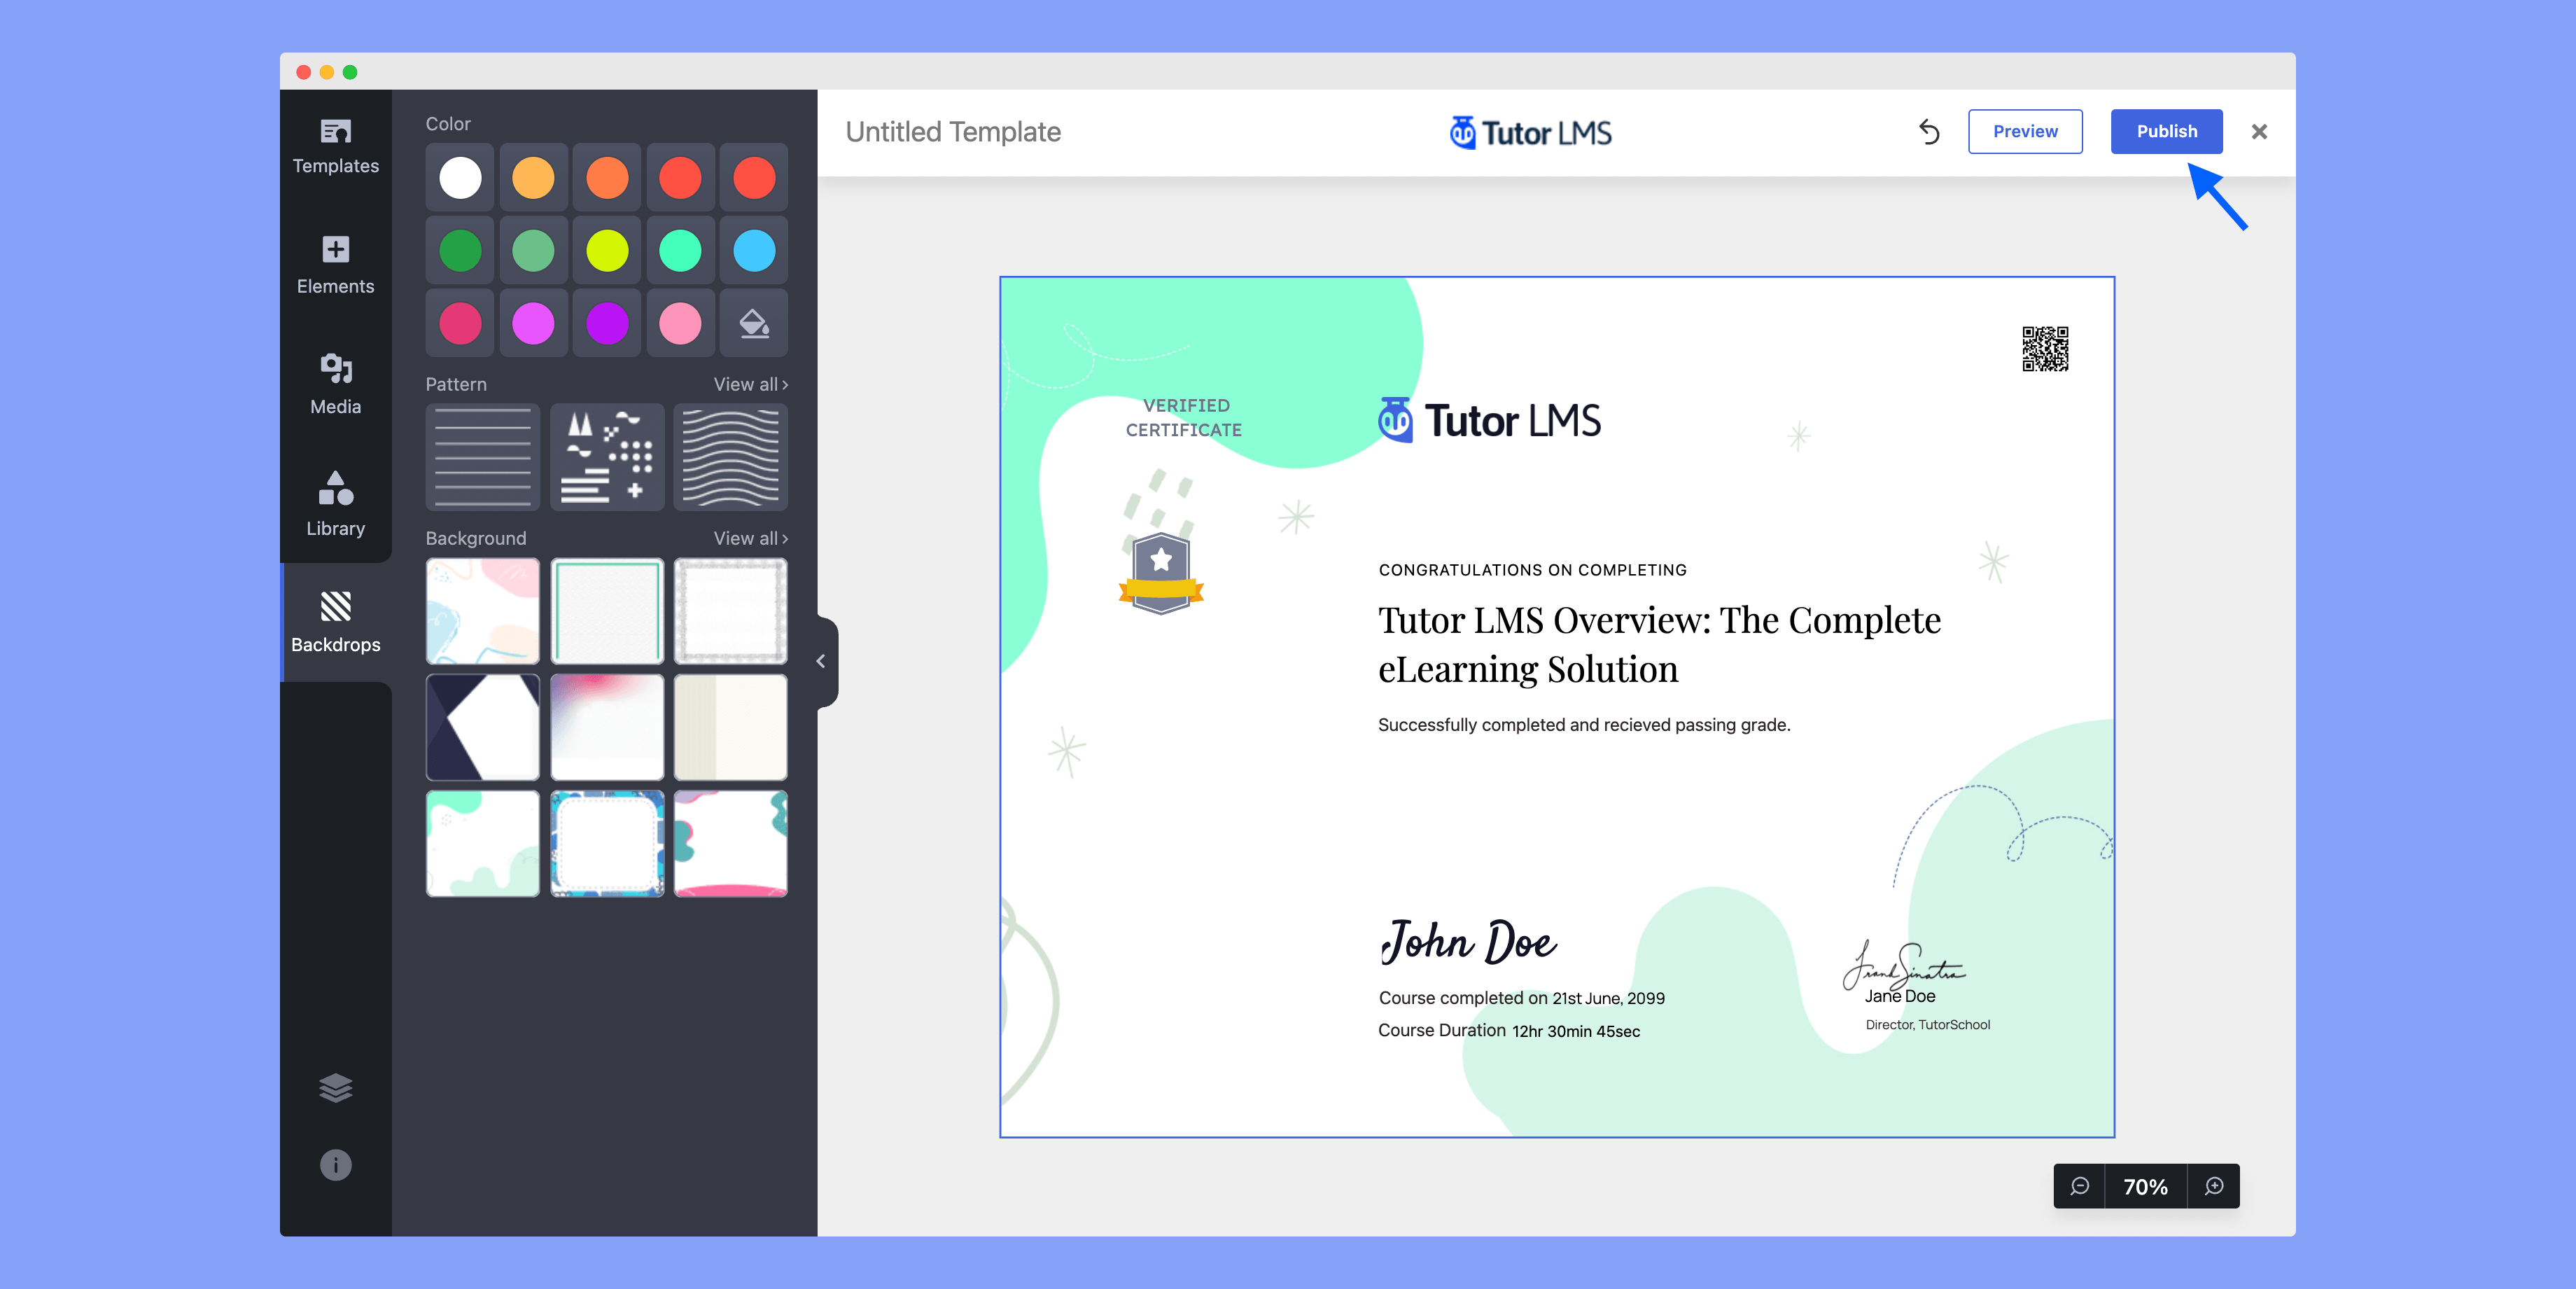
Assign The Certificate to a Course
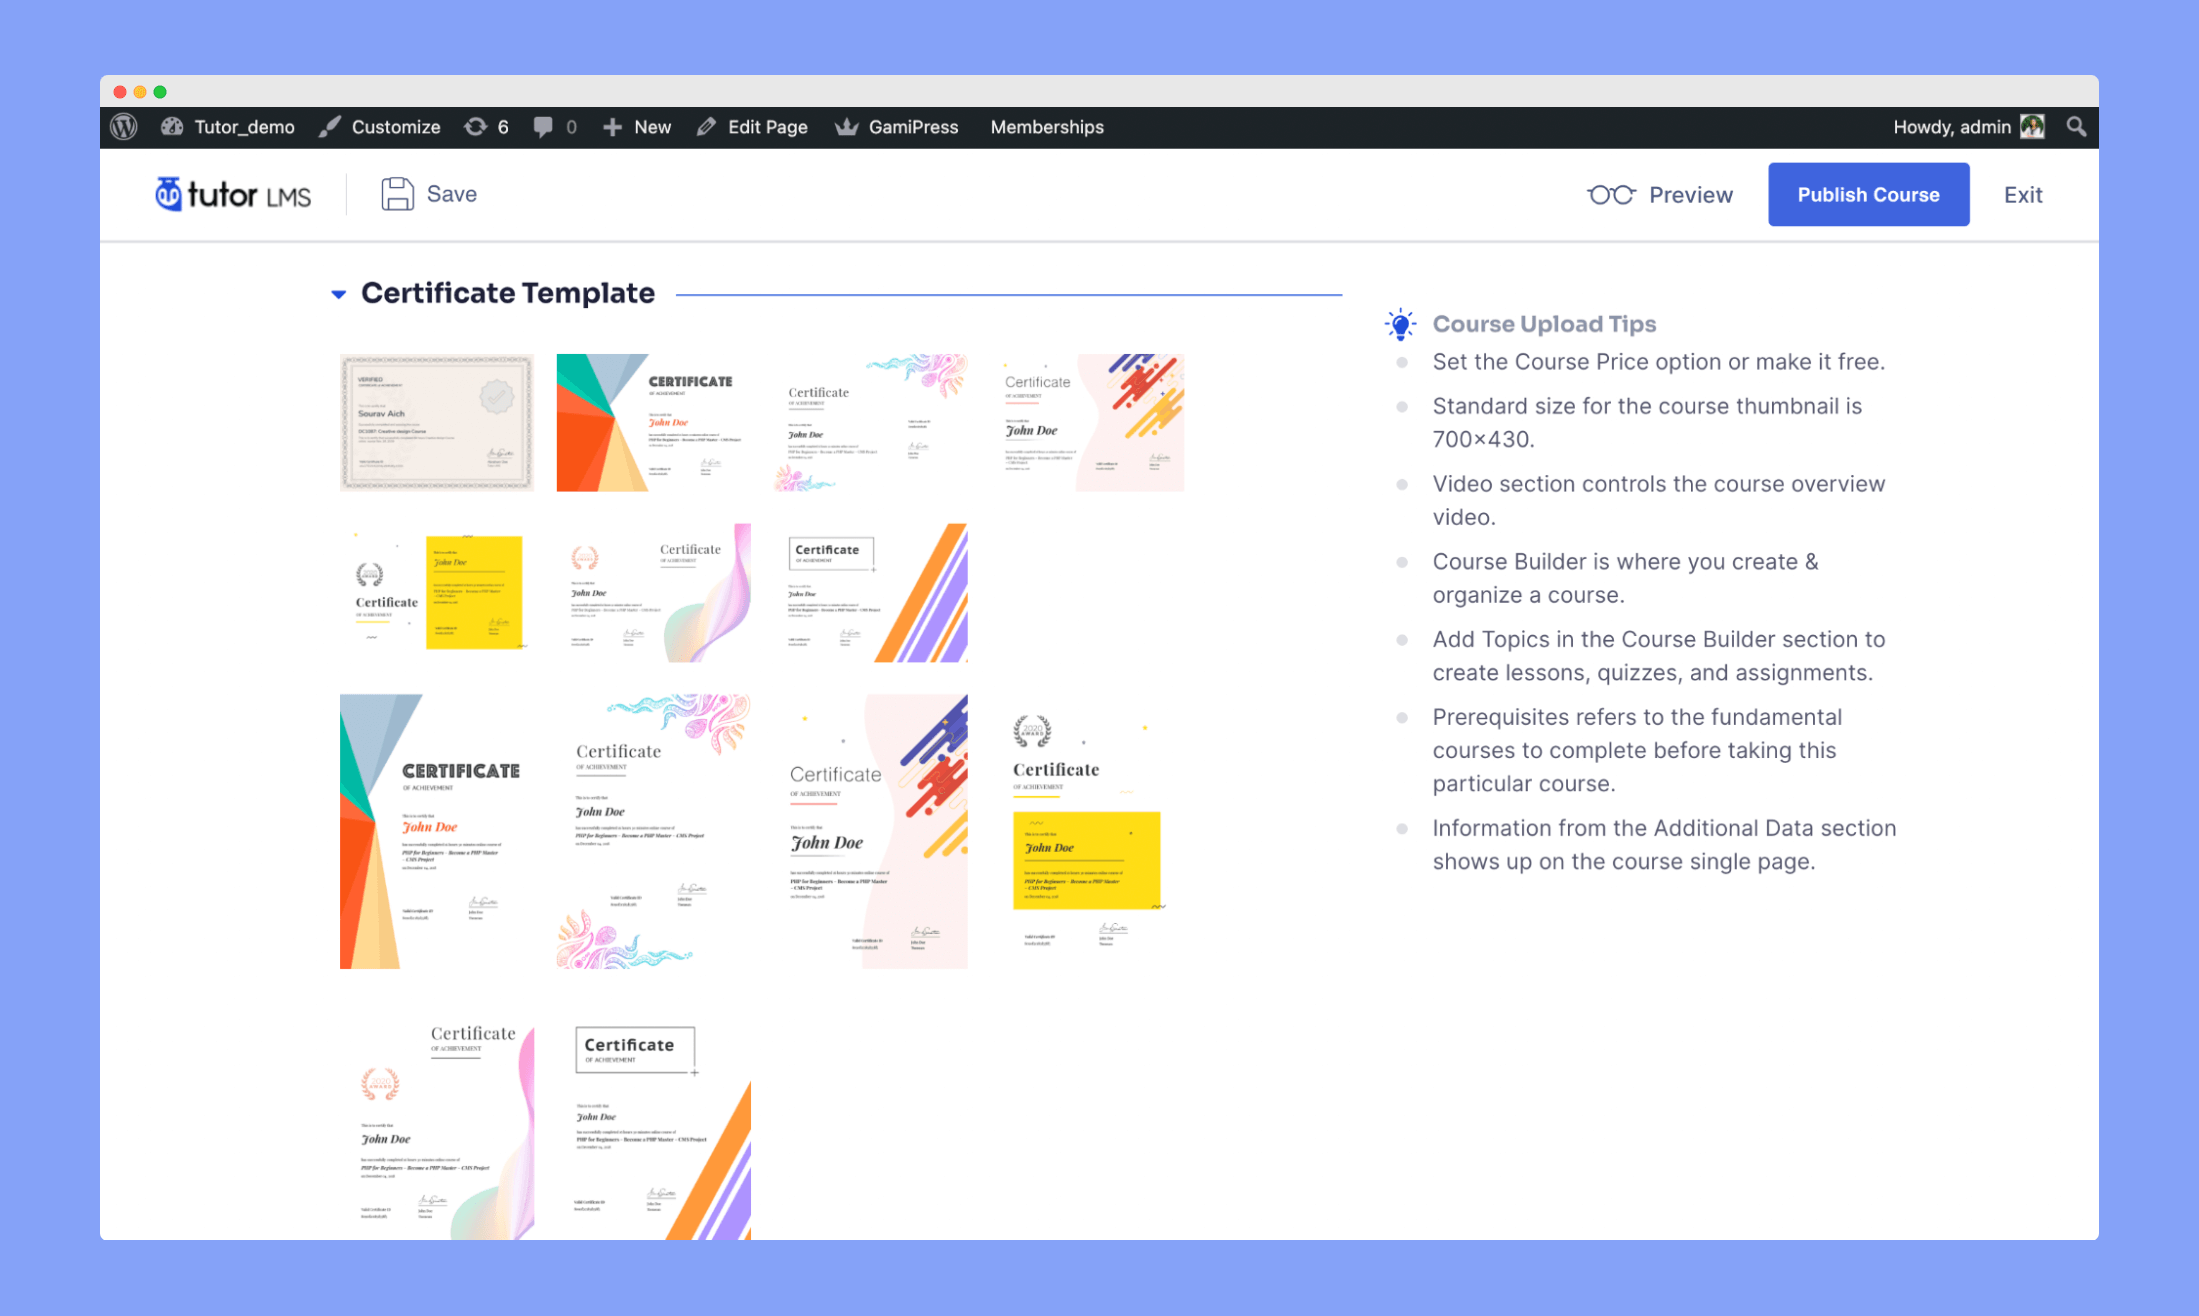
To assign the published certificate template to a course, go to the front-end editor of the course to which you want to add the certificate. Scroll down to the Certificate Template section, and you’ll see all the available certificate templates.
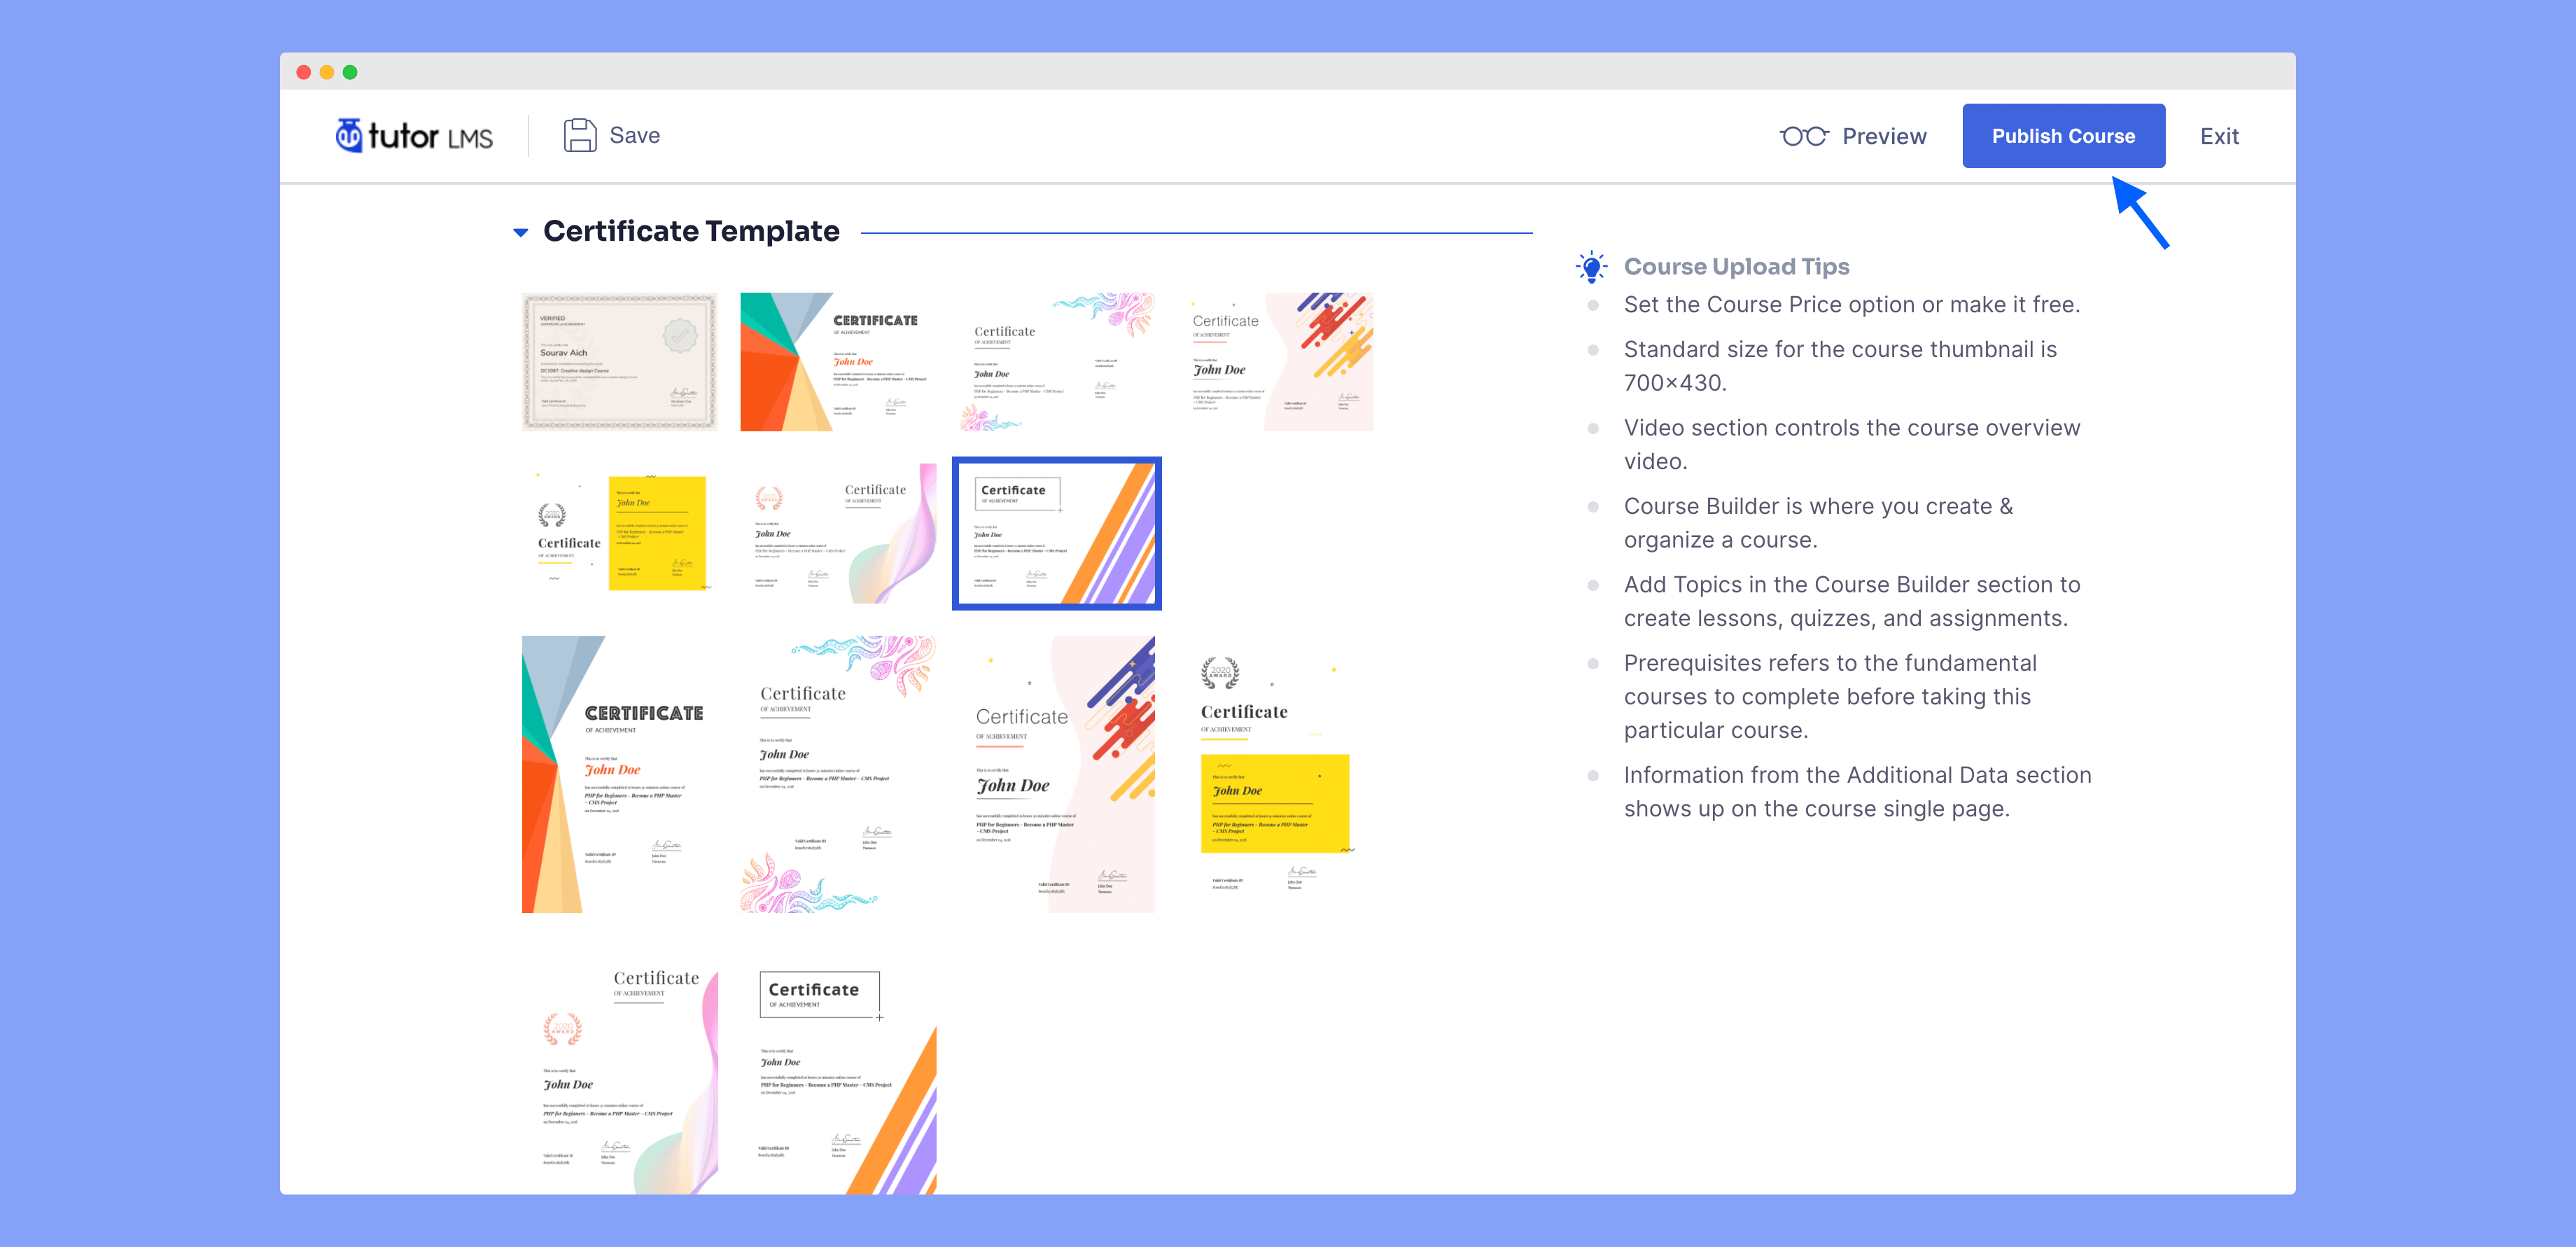
Select the certificate that you have just published, and hit Publish Course.
Now, when a student successfully completes the course, the “Get Certificate” button will appear on the course home page. Upon clicking on the button, the student will be able to see the certificate preview as below.
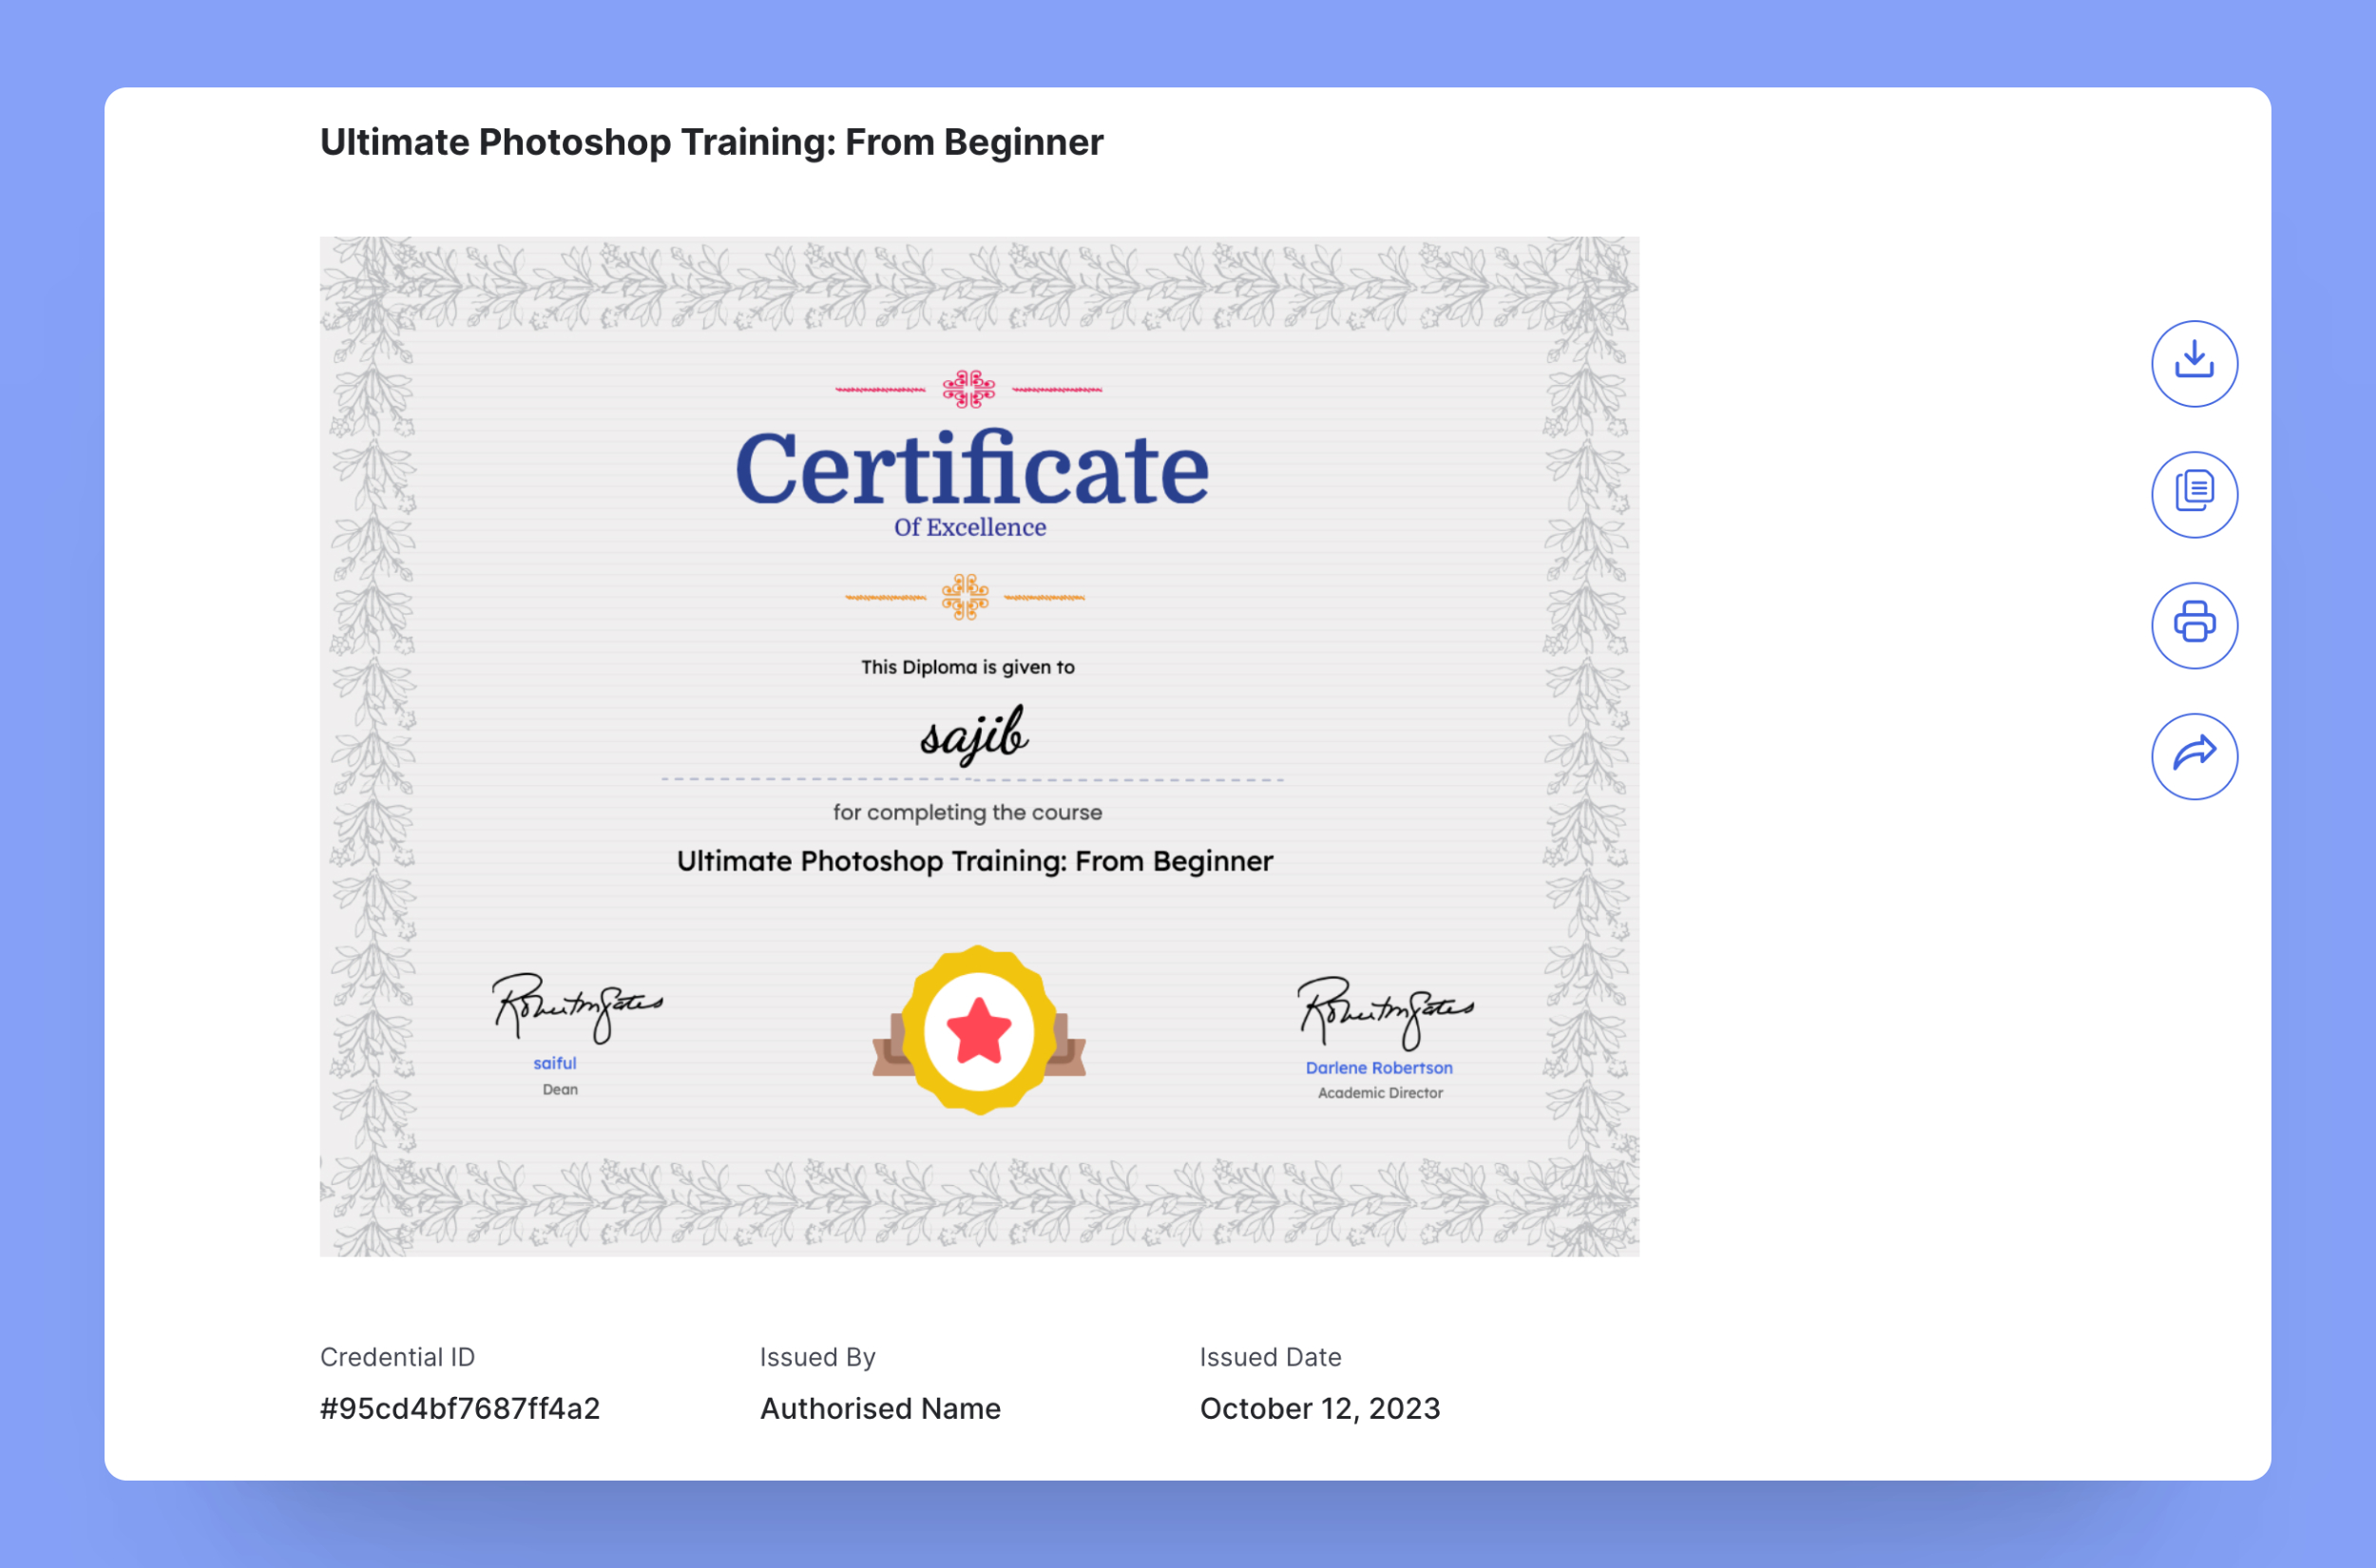
This certificate is available for download in both JPG and PDF formats. Additionally, you can also choose to print it in A4 size or share it on social media platforms like Facebook, X (formerly Twitter), and LinkedIn.