LearnDash to Tutor LMS Migration
If you want to run a seamless migration from your LearnDash to Tutor LMS, your new LMS of choice, you can use the Tutor LMS Migration Tool plugin.
The process for using the migration tool to migrate from LearnPress is also the same as migrating from LearnDash. This video shows how to migrate from LearnDash but you can follow these steps and our documentation on how to migrate from LearnPress.
Prerequisites
You need to have the following plugins installed and activated to use the Tutor LMS Migration Tool for LearnDash Migration.
- Tutor LMS (Version 3.6.0 or later)
- LearnDash (Version 4.0 or later)
- Tutor LMS – Migration Tool (Version 2.3.1 or later)
It is advisable that you update to the latest version of LearnDash before migrating to make the migration process run seamlessly.
Installing The Tutor LMS Migration Tool Plugin
Once you’ve installed and activated the prerequisite plugins, navigate to WP Admin > Plugins > Add New and search for Tutor LMS Migration Tool. Then, click on Install and Activate.
LearnDash Migration
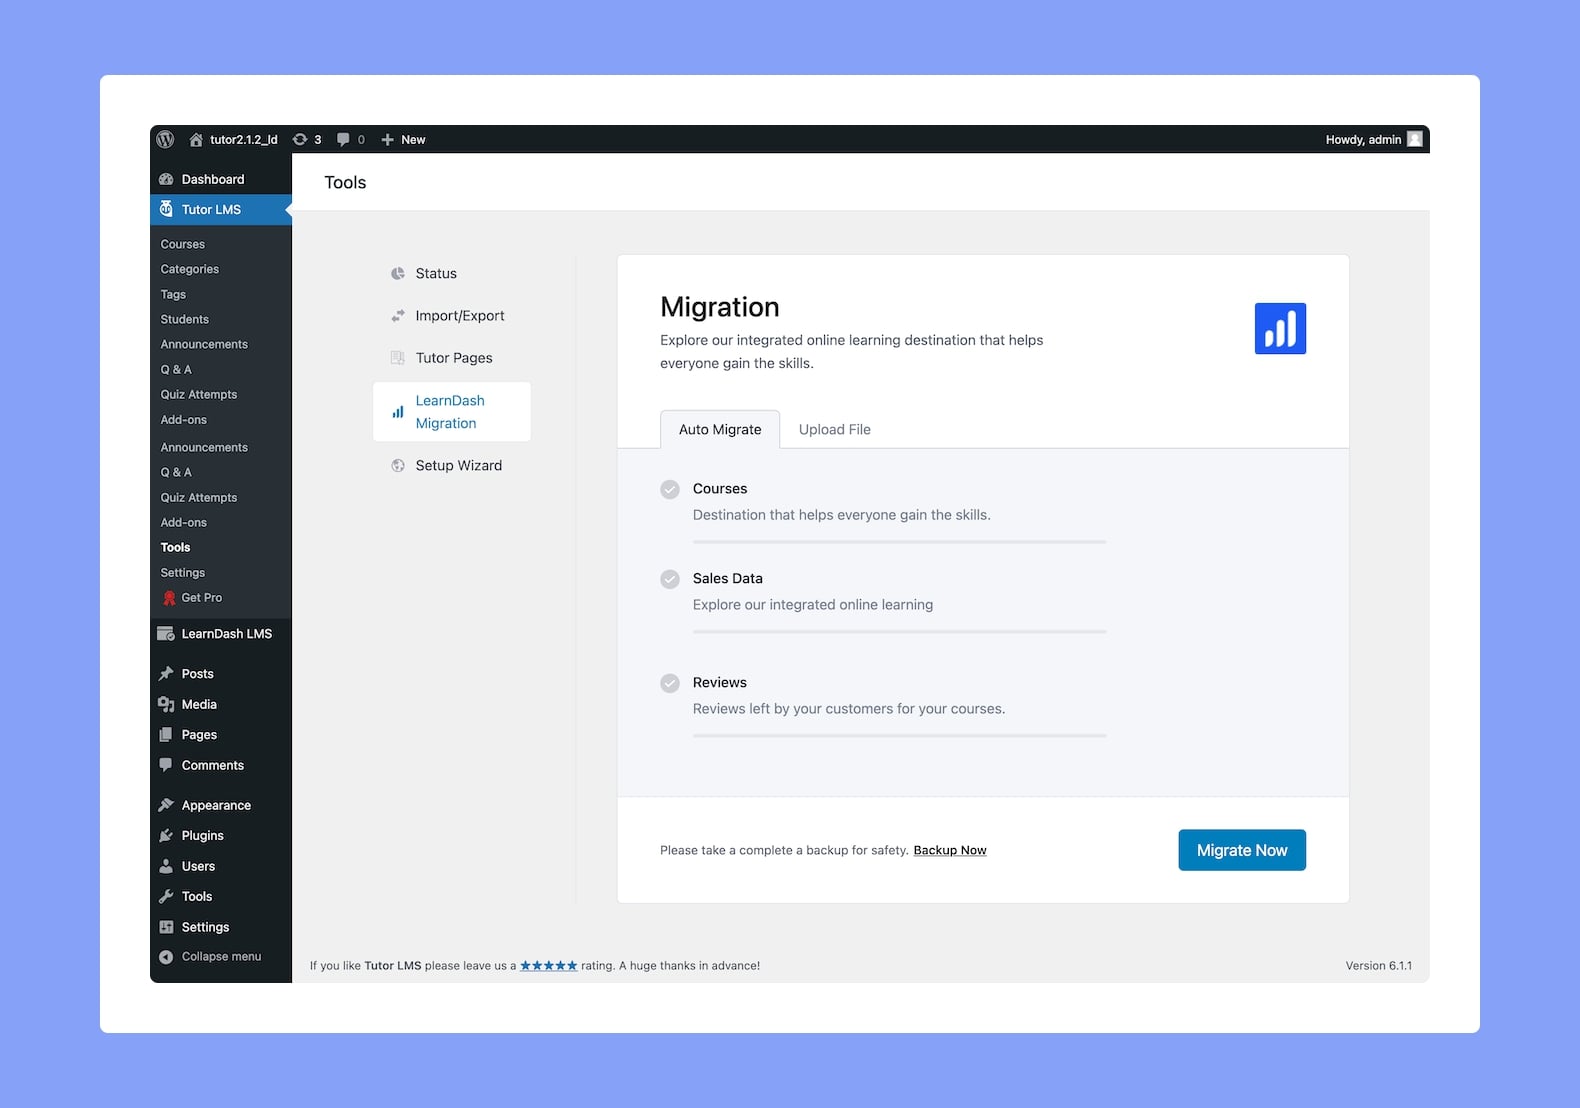
After installing the Tutor LMS Migration tool, you will find all its available features in the Tools section of Tutor LMS. Go to WP Admin > TutorLMS > Tools > LearnDash Migration.
Here is where you’ll find all of the Migration Settings. Now before going any further, let us discuss what types of data you can expect to be transferred from LearnDash to Tutor LMS with the help of this tool:
- Courses: LearnDash Courses and all that entailed will be transferred to Tutor LMS. This also includes Lessons, Quizzes, Assignments, etc.
- Users: All Student and Instructor data will be transferred to Tutor LMS.
- Sales Data: All Sales Data of your Courses will be transferred to Tutor LMS.
- Order Data: All Order Data of your Courses will be transferred to Tutor LMS.
- Course Enrollment Records: All Course Enrollment Records will be transferred to Tutor LMS
- eCommerce Products: All eCommerce Products and related data will be transferred to Tutor LMS
- Reviews: All Course Reviews and related info will be transferred to Tutor LMS.
Migrating eCommerce Data
As mentioned earlier, you can migrate all your eCommerce Data using this tool. But in order for this to work seamlessly, you’ll have to make sure that your eCommerce plugin is properly set up for Tutor LMS before you migrate.
For instance, if you’re using WooCommerce as your LearnDash eCommerce engine, make sure you follow the following steps for a seamless migration.
- Install and Activate Tutor LMS
- Install and Activate Tutor LMS Migration Tool
- Install and activate WooCommerce
- Set WooCommerce as the Monetization option in the Tutor LMS Settings
- Run the migration
Only then will the eCommerce Products and Sales Data be transferred without issues. The same goes if you’re using Easy Digital Downloads instead.
Certificates Will Be Auto-Generated
Another notable aspect of the Tutor LMS Migration Tool is the fact that it will auto-generate Certificates for the respective students if you have Tutor LMS’ Certificate add-on enabled and set up before migrating!
Migrate Now
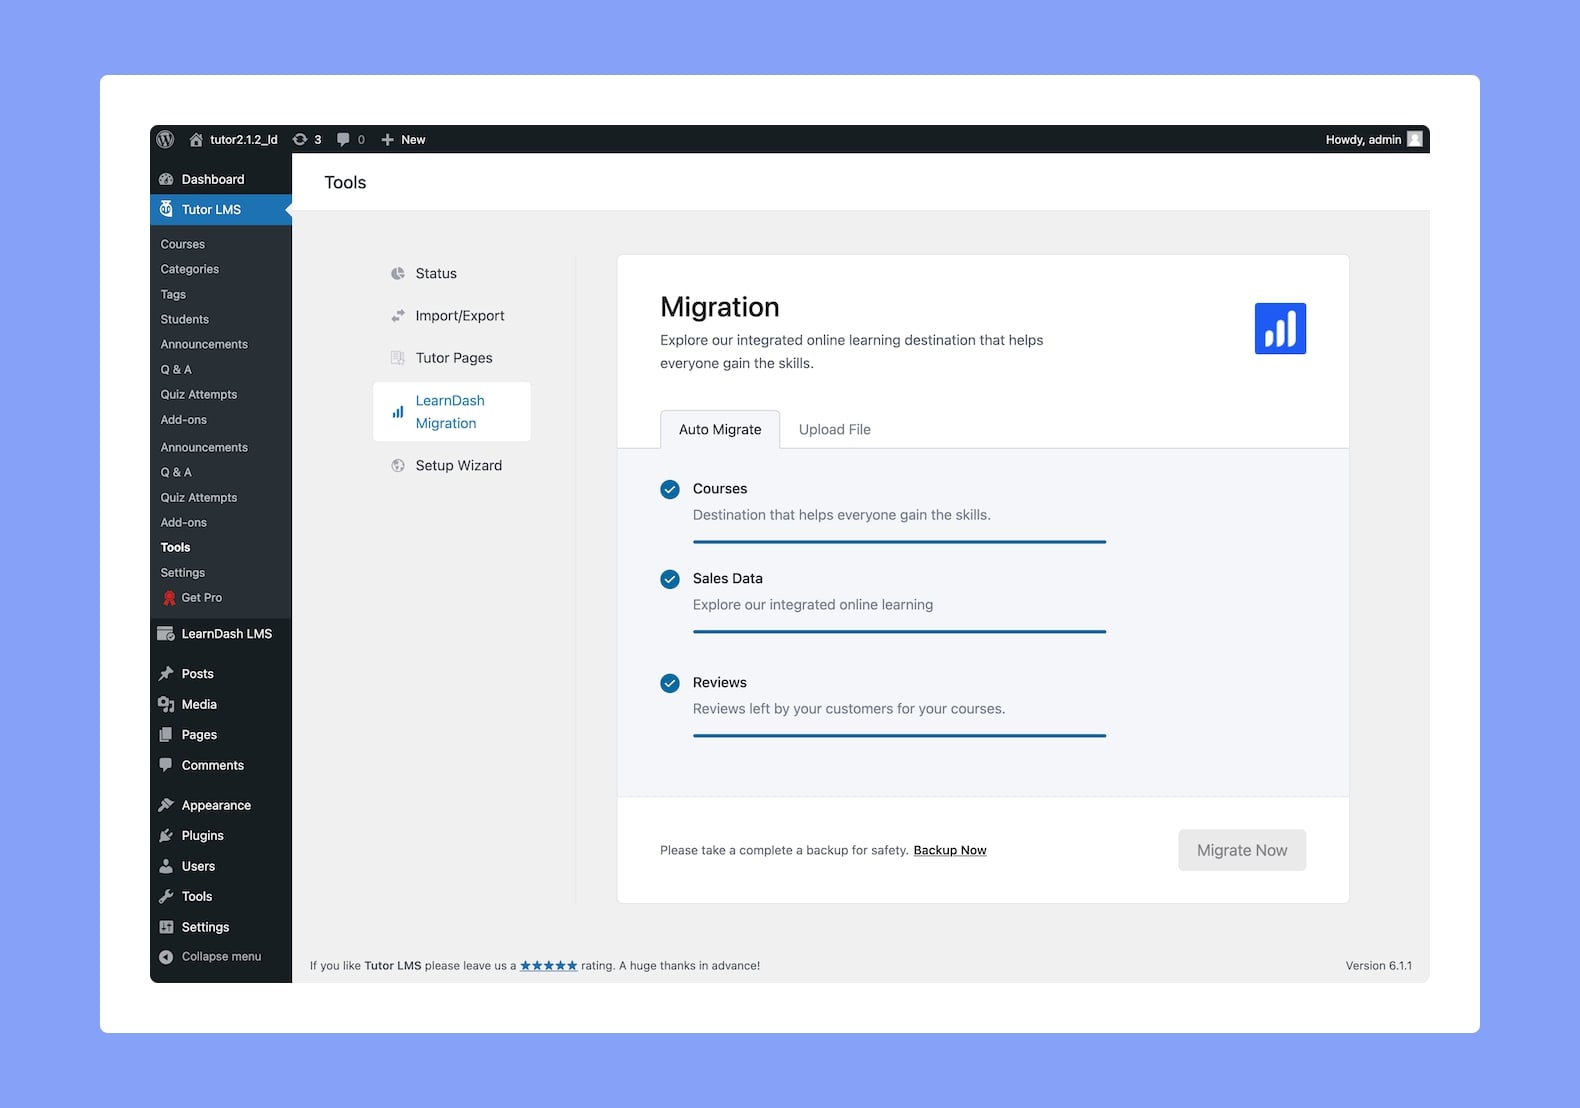
Next up, you’ll find the Migrate Now button which will start the Migration process. Once you click on this button, you’ll be able to see the real-time progress of the Migration. When the Migration is successfully completed, you should see a success message pop up!
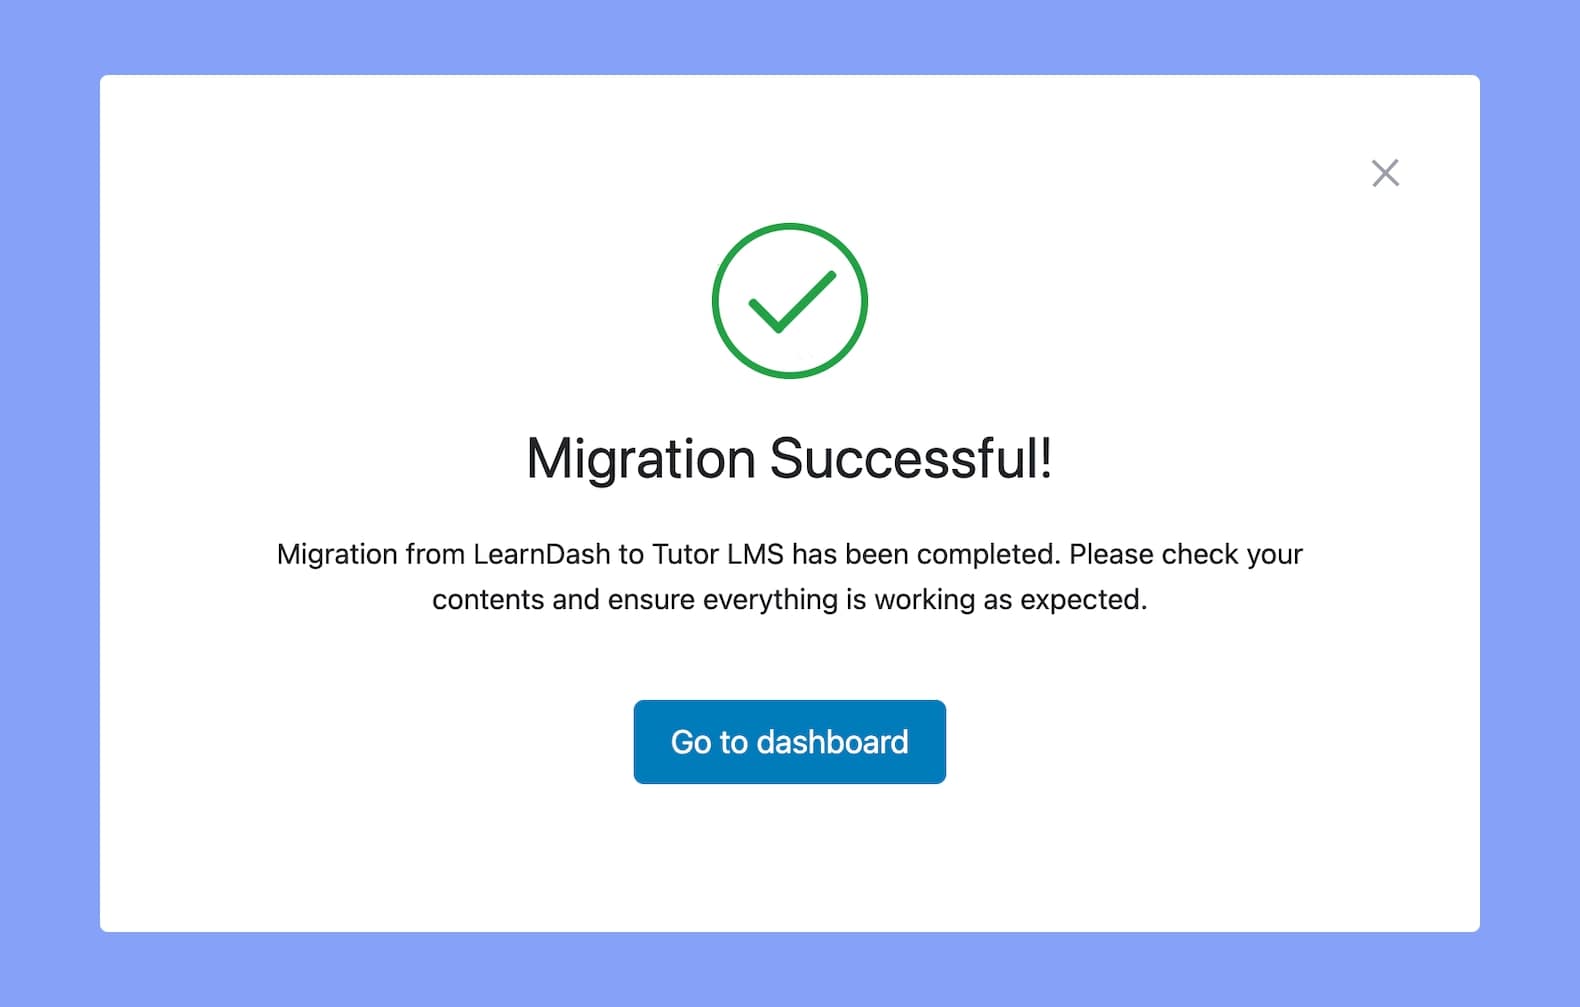
Now, if you head over to WP Admin > Tutor LMS > Courses, you’ll be able to see all of the courses that were transferred. Similarly, you can check Enrollments, Reviews, etc.
Settings History
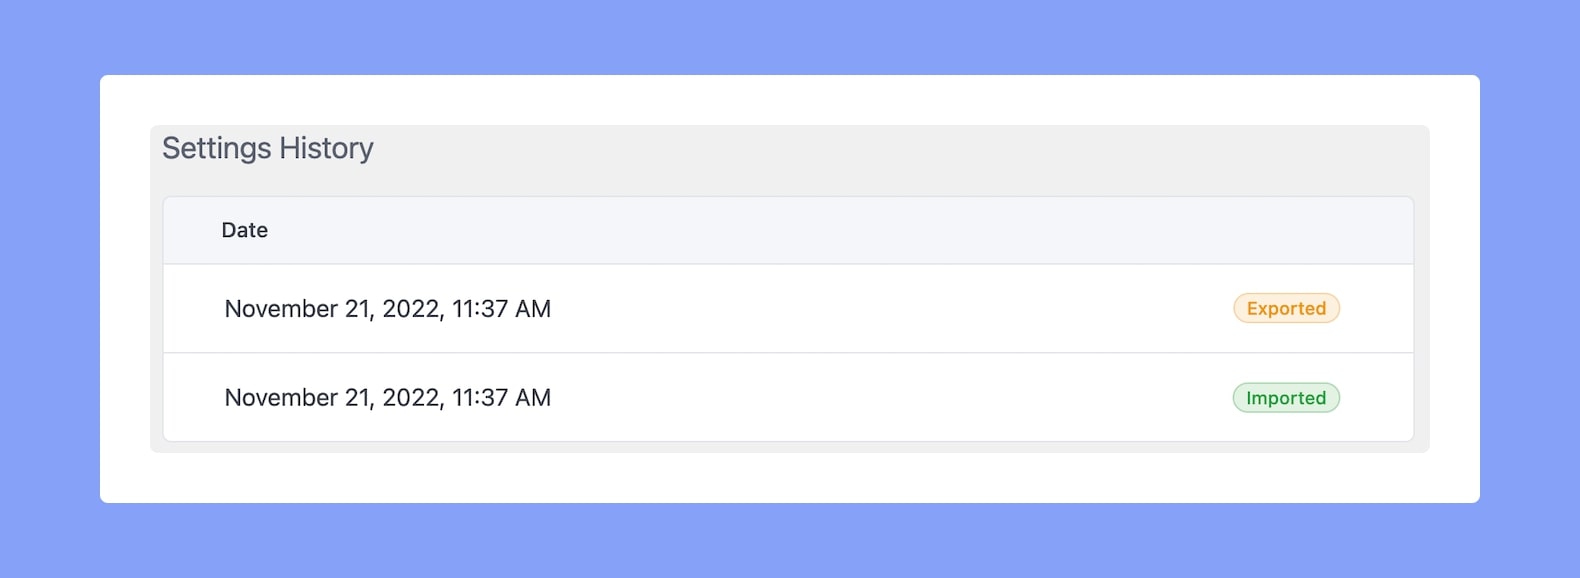
In the sidebar, you’ll find the Settings History which is basically a list of all your Exports and Imports generated automatically. This will only appear after the first such event is triggered and the list will contain the Date & Time of the event and its type i.e whether the settings were exported or imported.